
Overview
Nuvei Self Track is a technical integration flow that offers a quick and simple account setup, allowing you to build, optimize, and launch your eCommerce experience at your own pace using our ‘out-of-the-box’ solution.
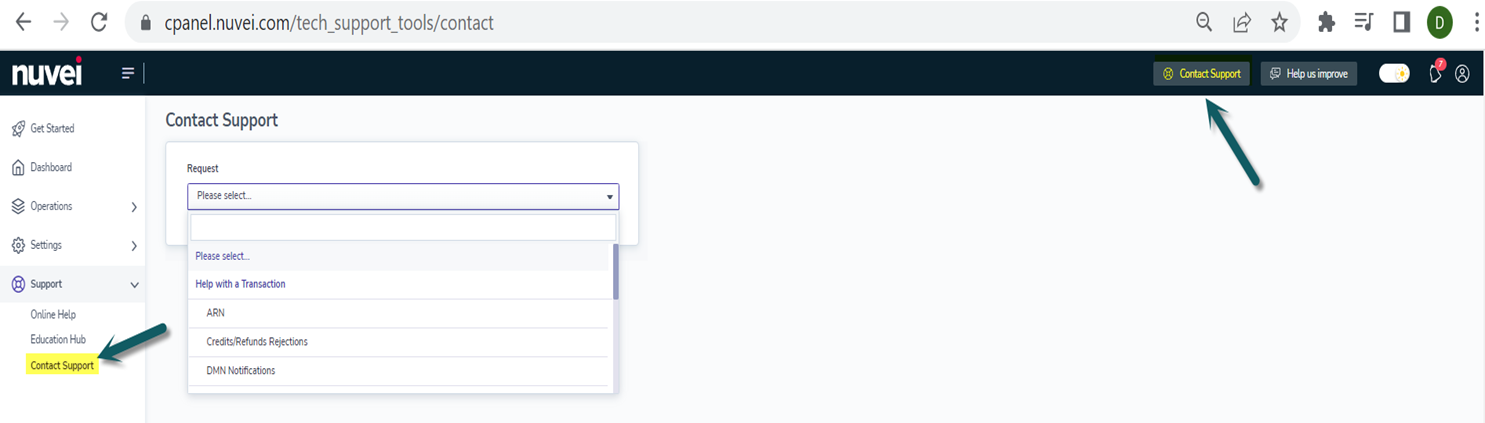
Our sandbox environment offers a streamlined user-interface, developer resources, and a step-by-step approach to rapidly set up and test your integration. Once ready, launch into production in parallel with completing commercial certification to save time and resources. Self Track help tools and our dedicated team are available should you require additional support.
Welcome Email
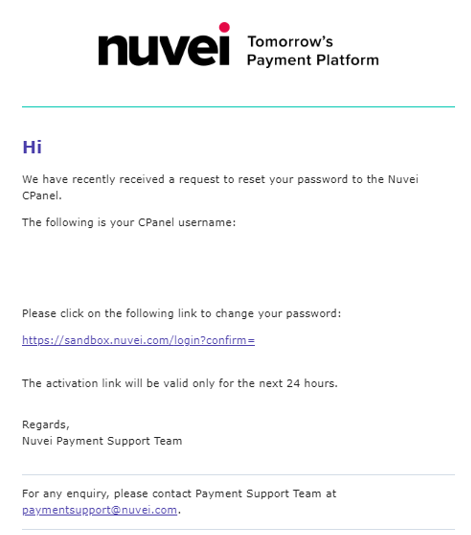
Your technical journey starts when you receive a welcome email containing an activation link to your sandbox account.
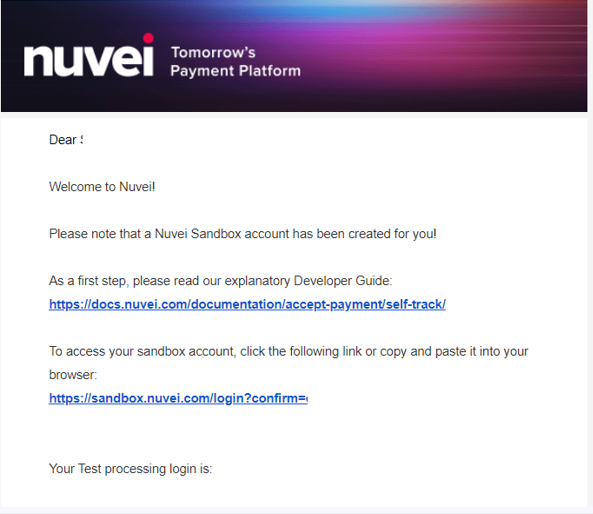
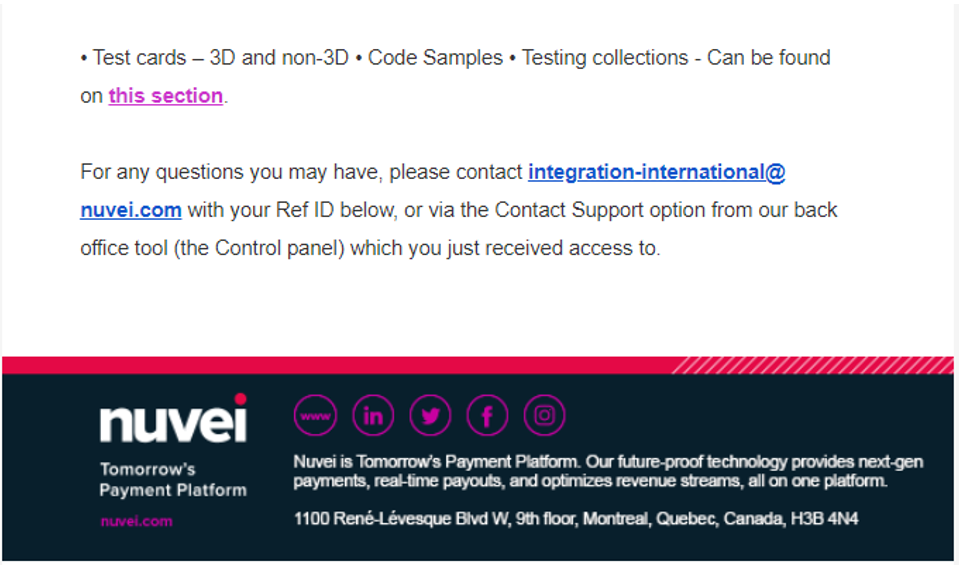
- In the welcome email, press the activation link and then set a new password.
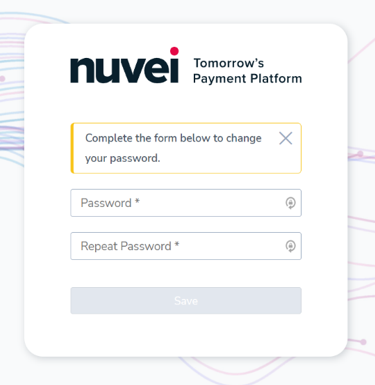
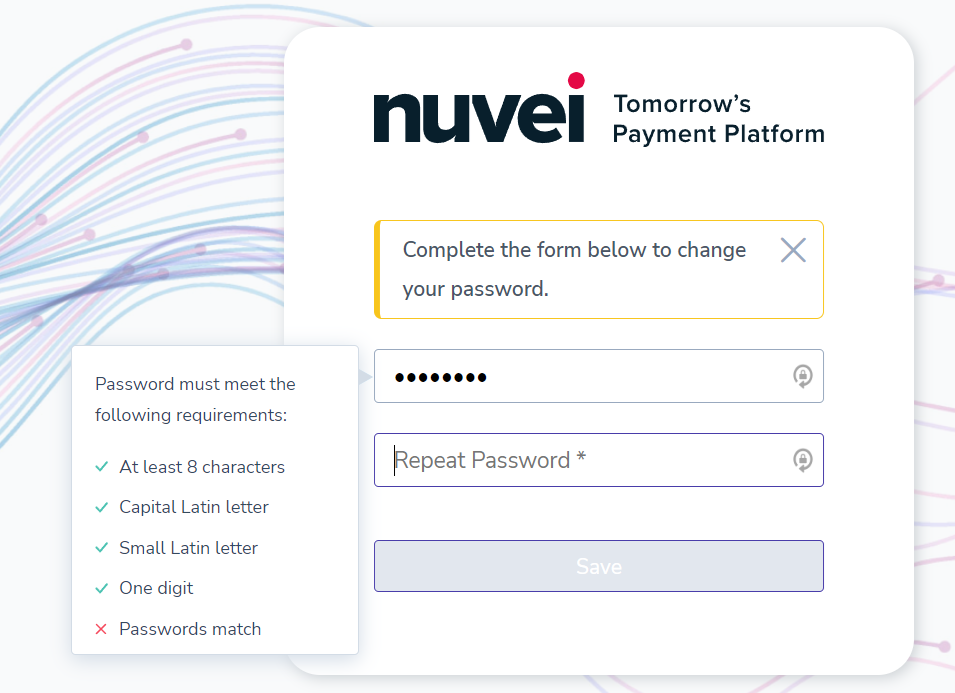
- If 24 hours pass since activation of your sandbox account, you must use the “Forgot your password?” link to receive a new password-activation link.
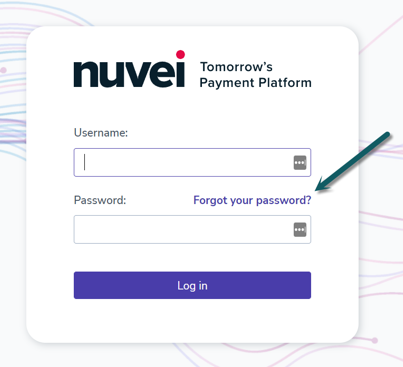
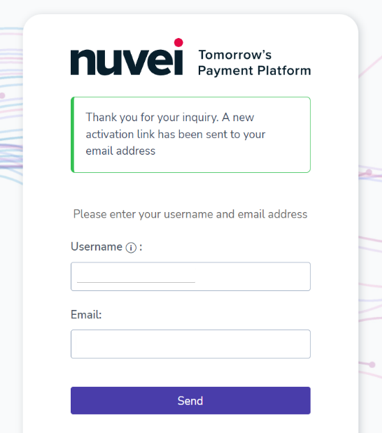
Your login username, which is automatically generated, is included in the welcome email.
Get Started Page in Sandbox
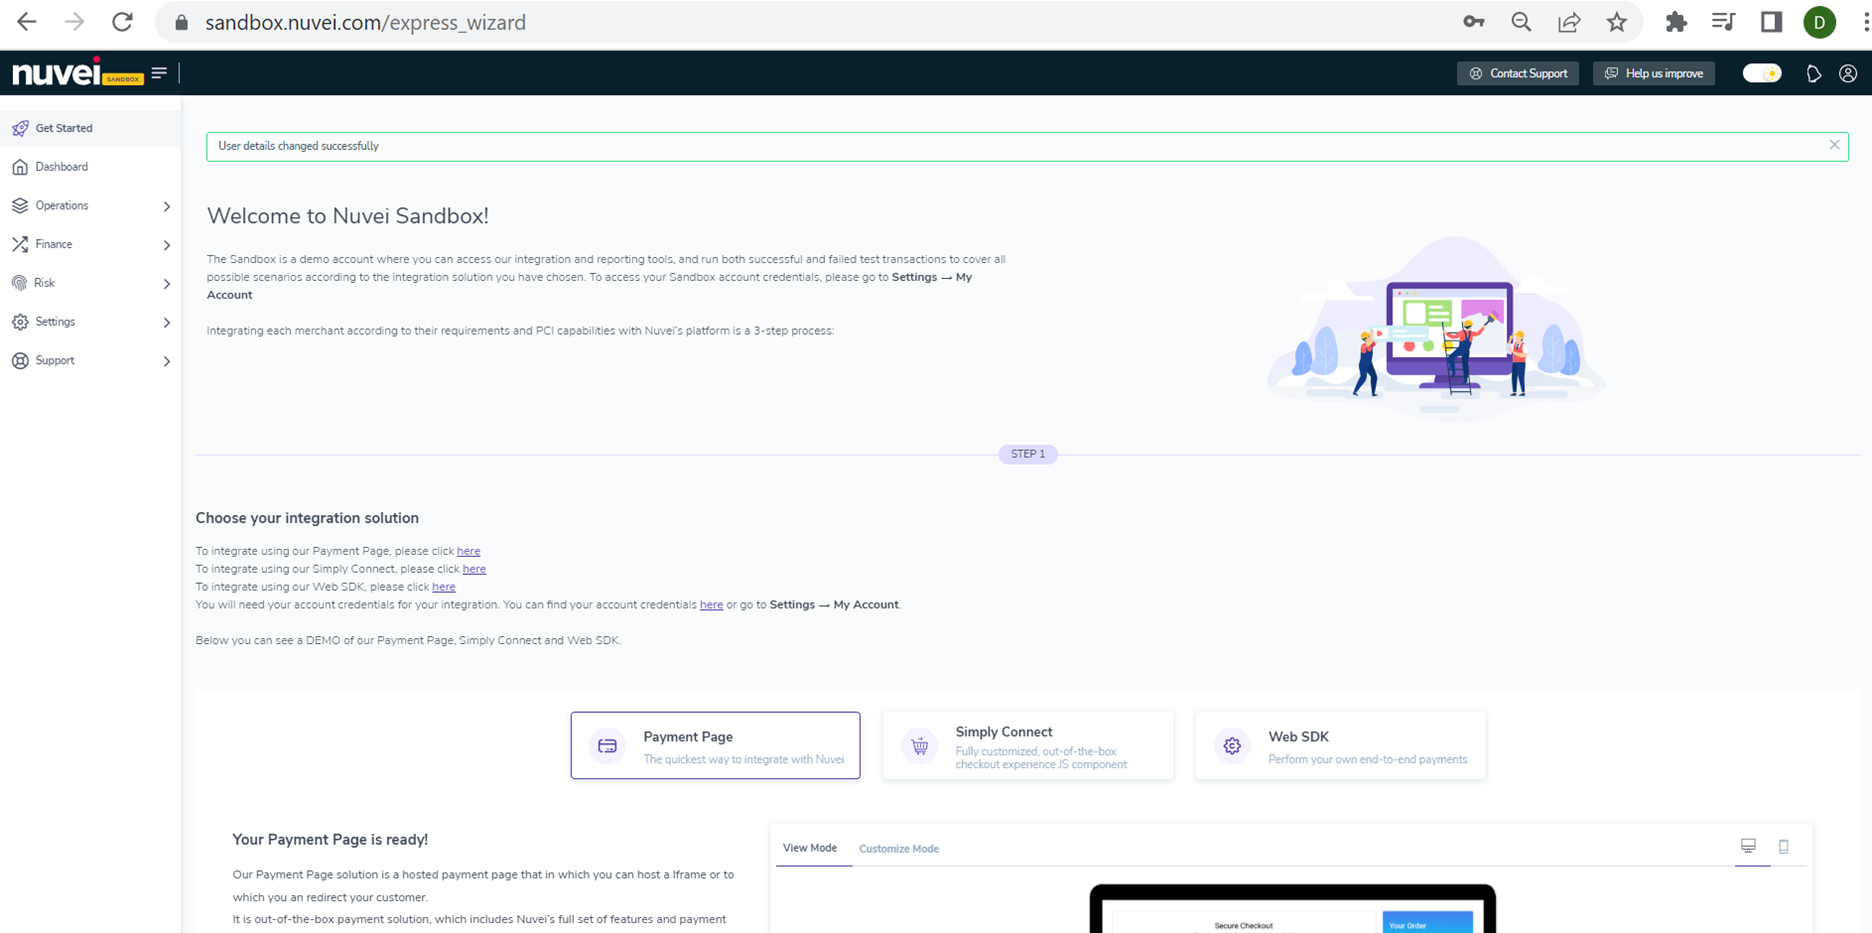
When you log in for the first time to the sandbox, you are directed to the Get Started page.
The ‘Get Started’ page outlines the steps you must take to complete the sandbox integration process and go live.
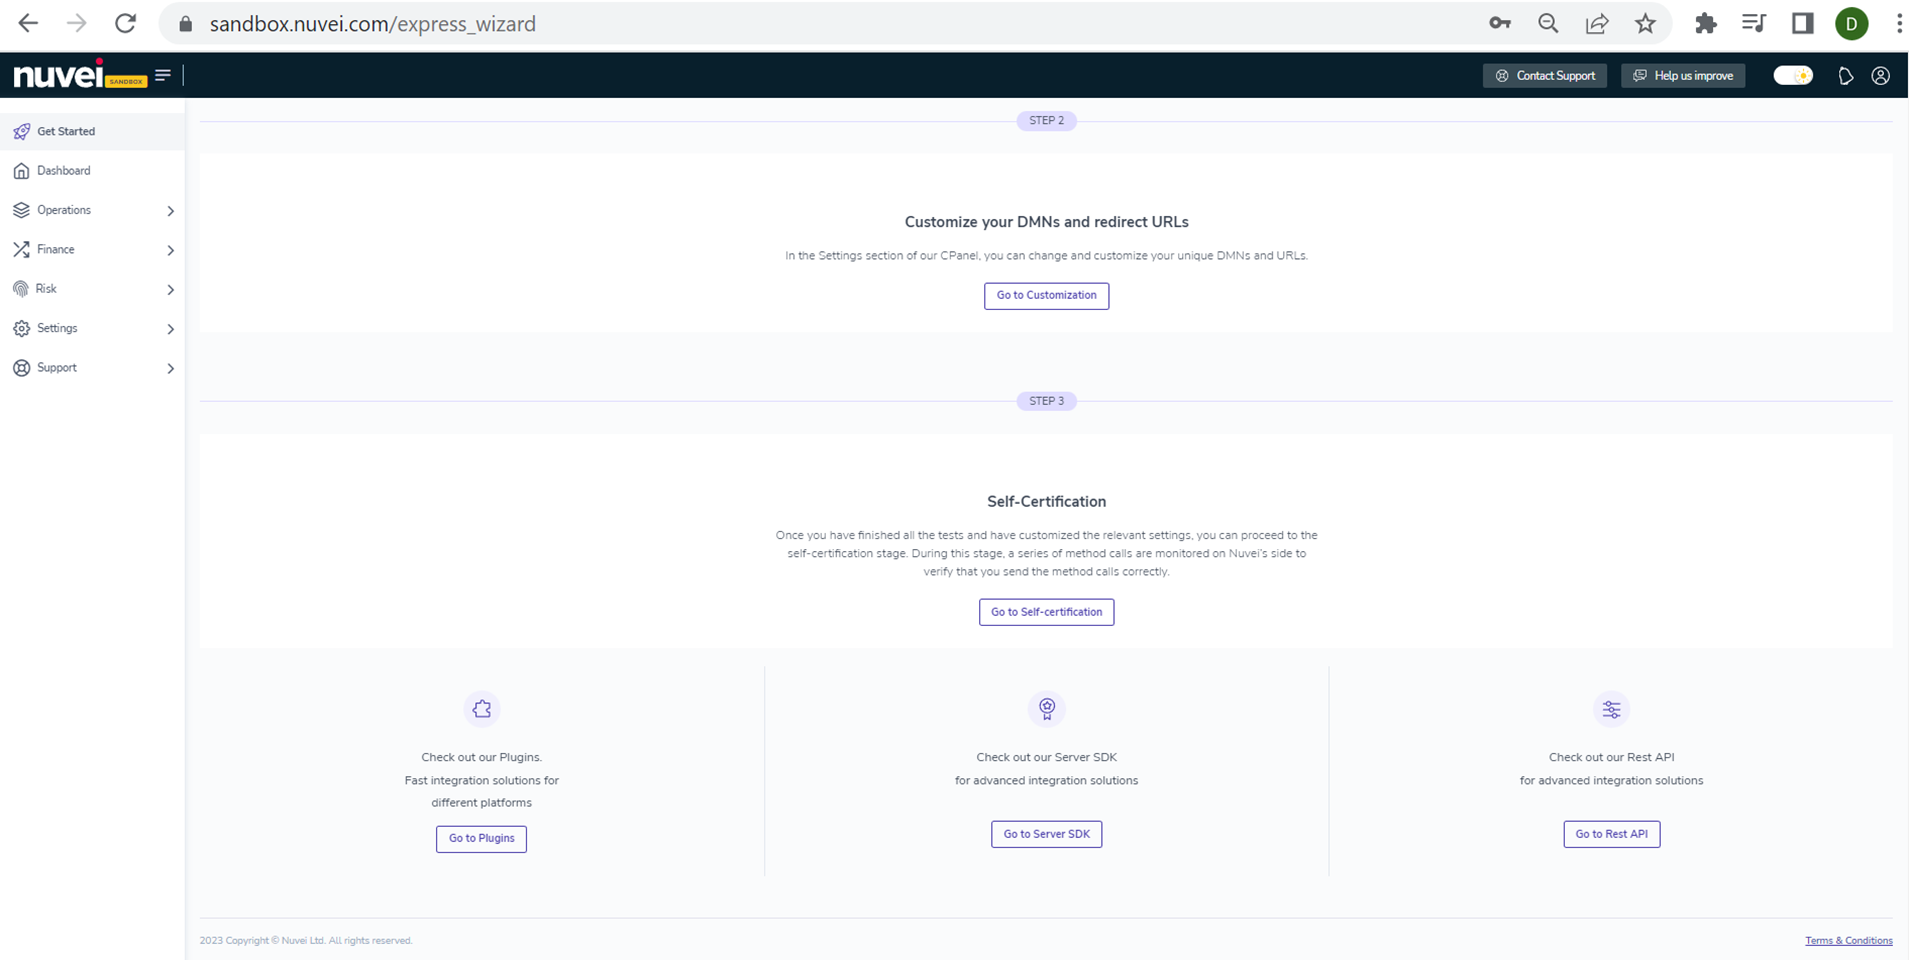
1. Choosing an Integration
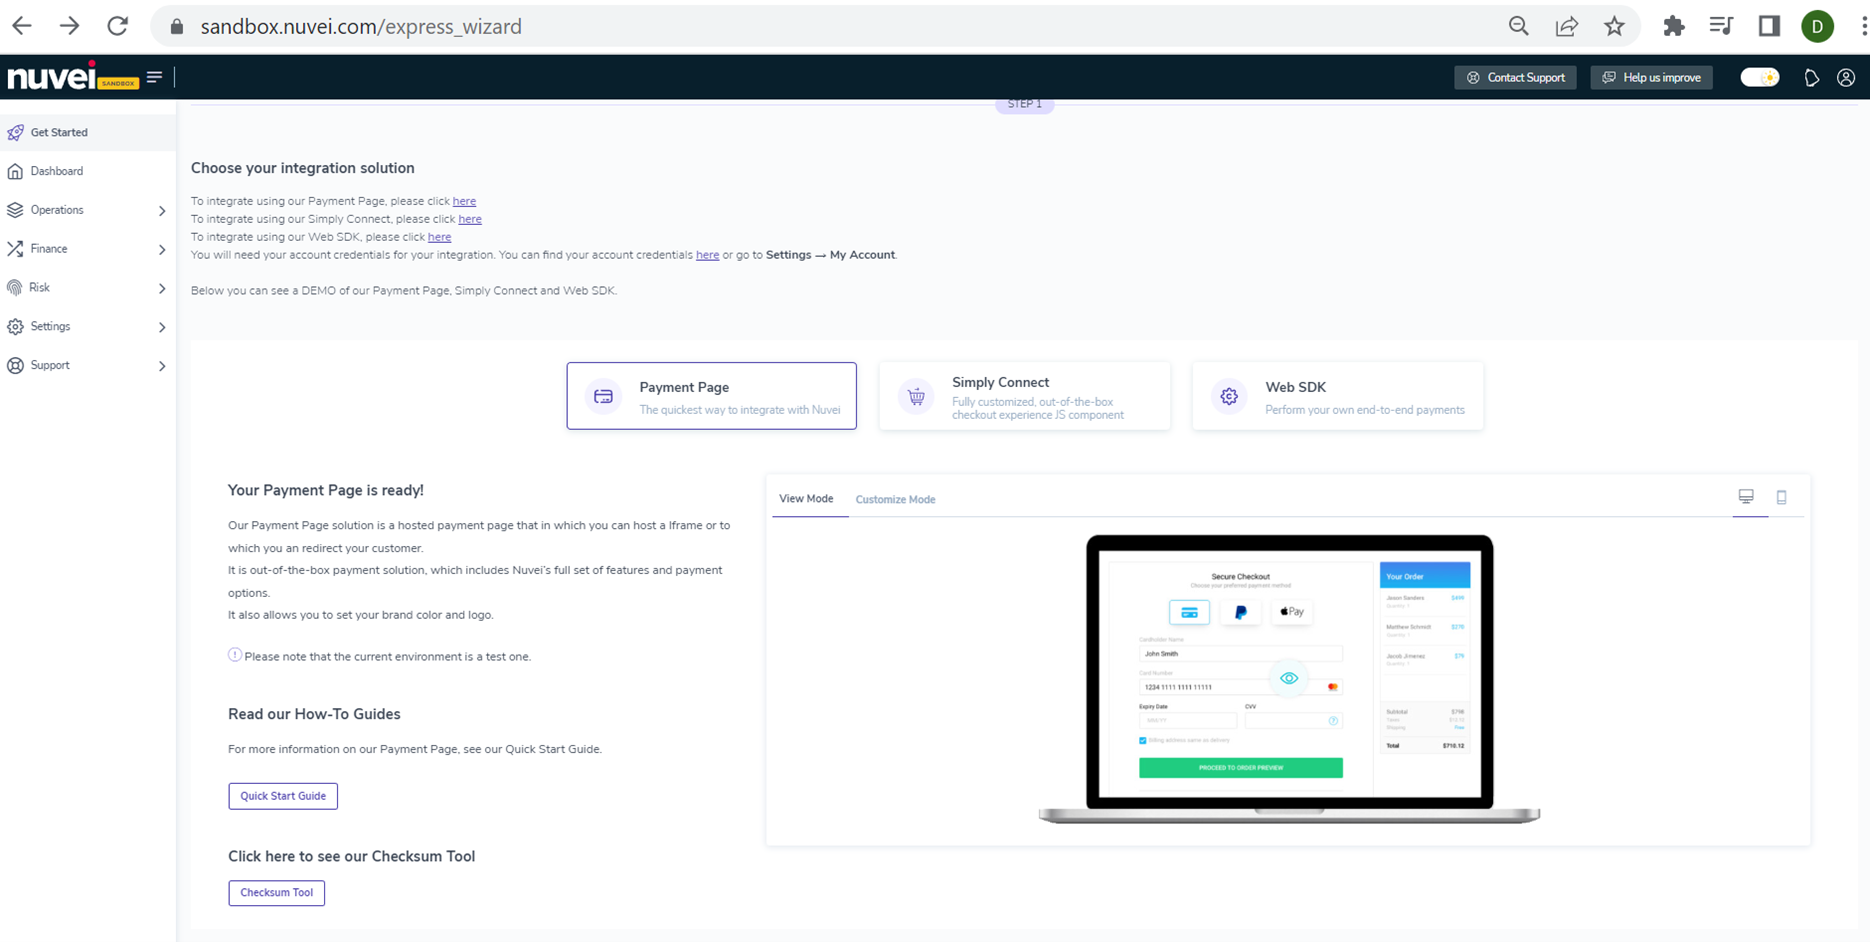
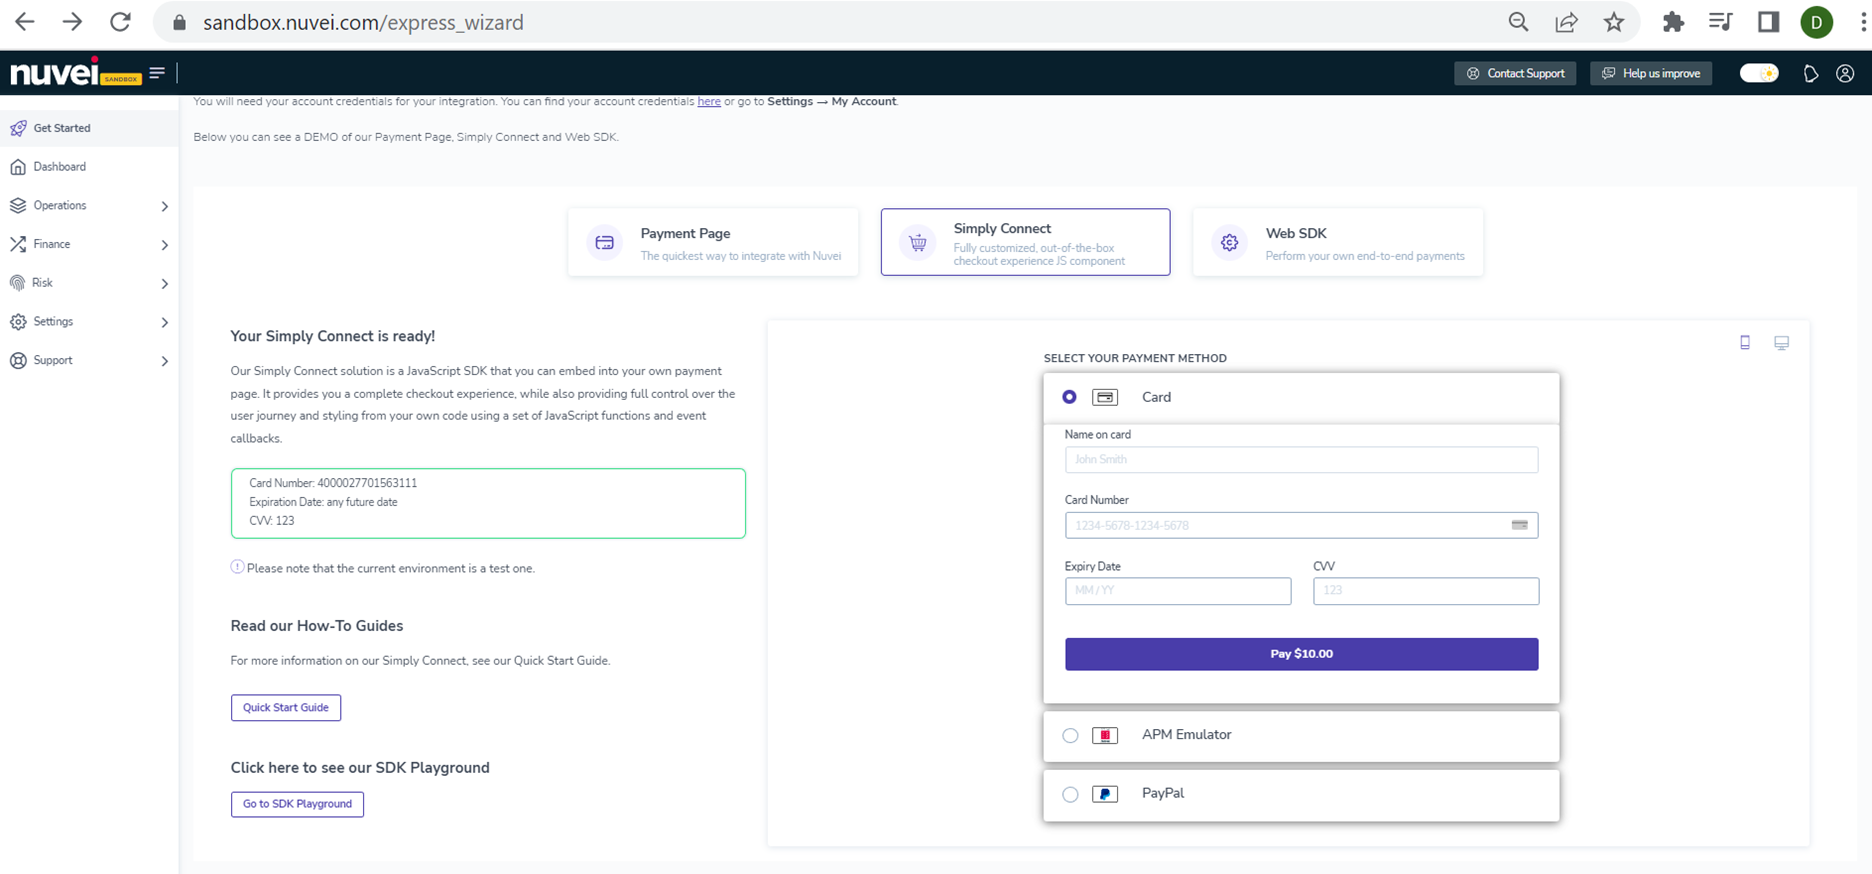
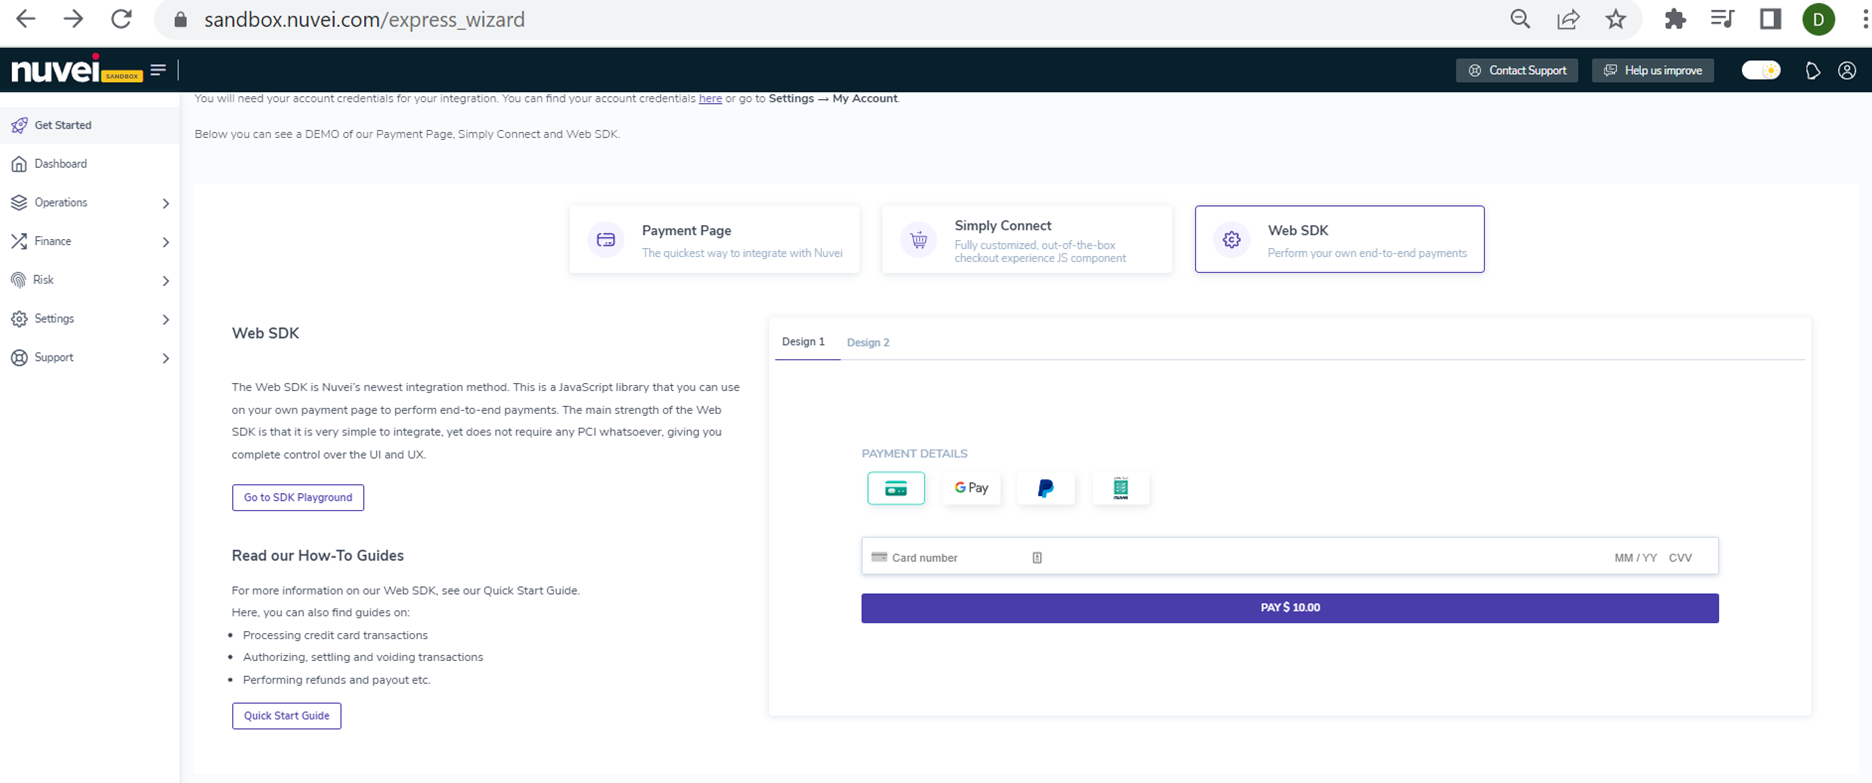
Explore the integration solutions via product demos: Payment Page, Simply Connect, and Web SDK.
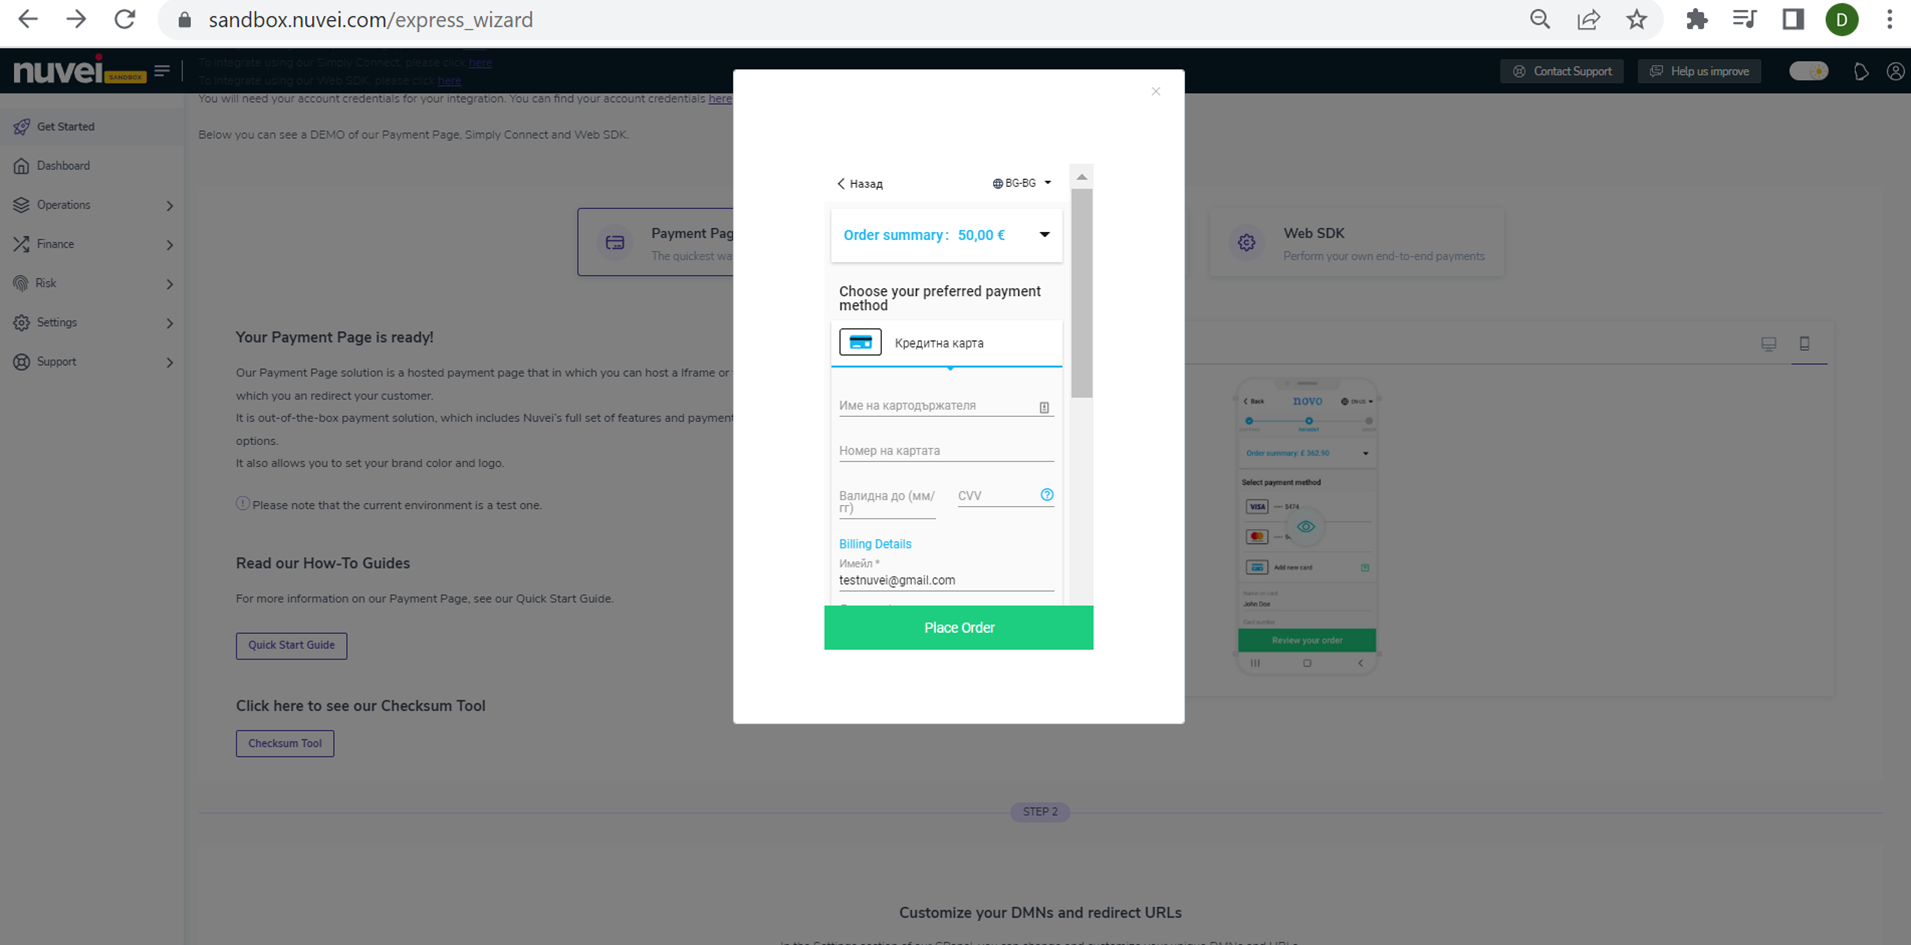
Payment Page
Explore, select where to run test transactions, and make minor customizations.
Checksum Tool
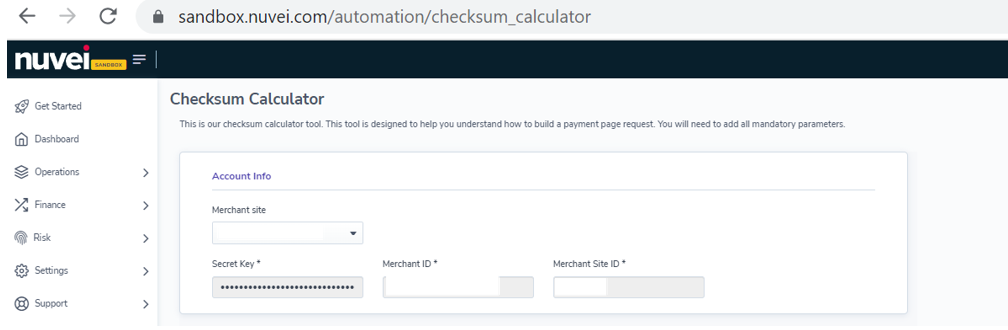
The ‘Checksum Tool’ is provided for creating and building payment page requests, and for understanding how a request is created.
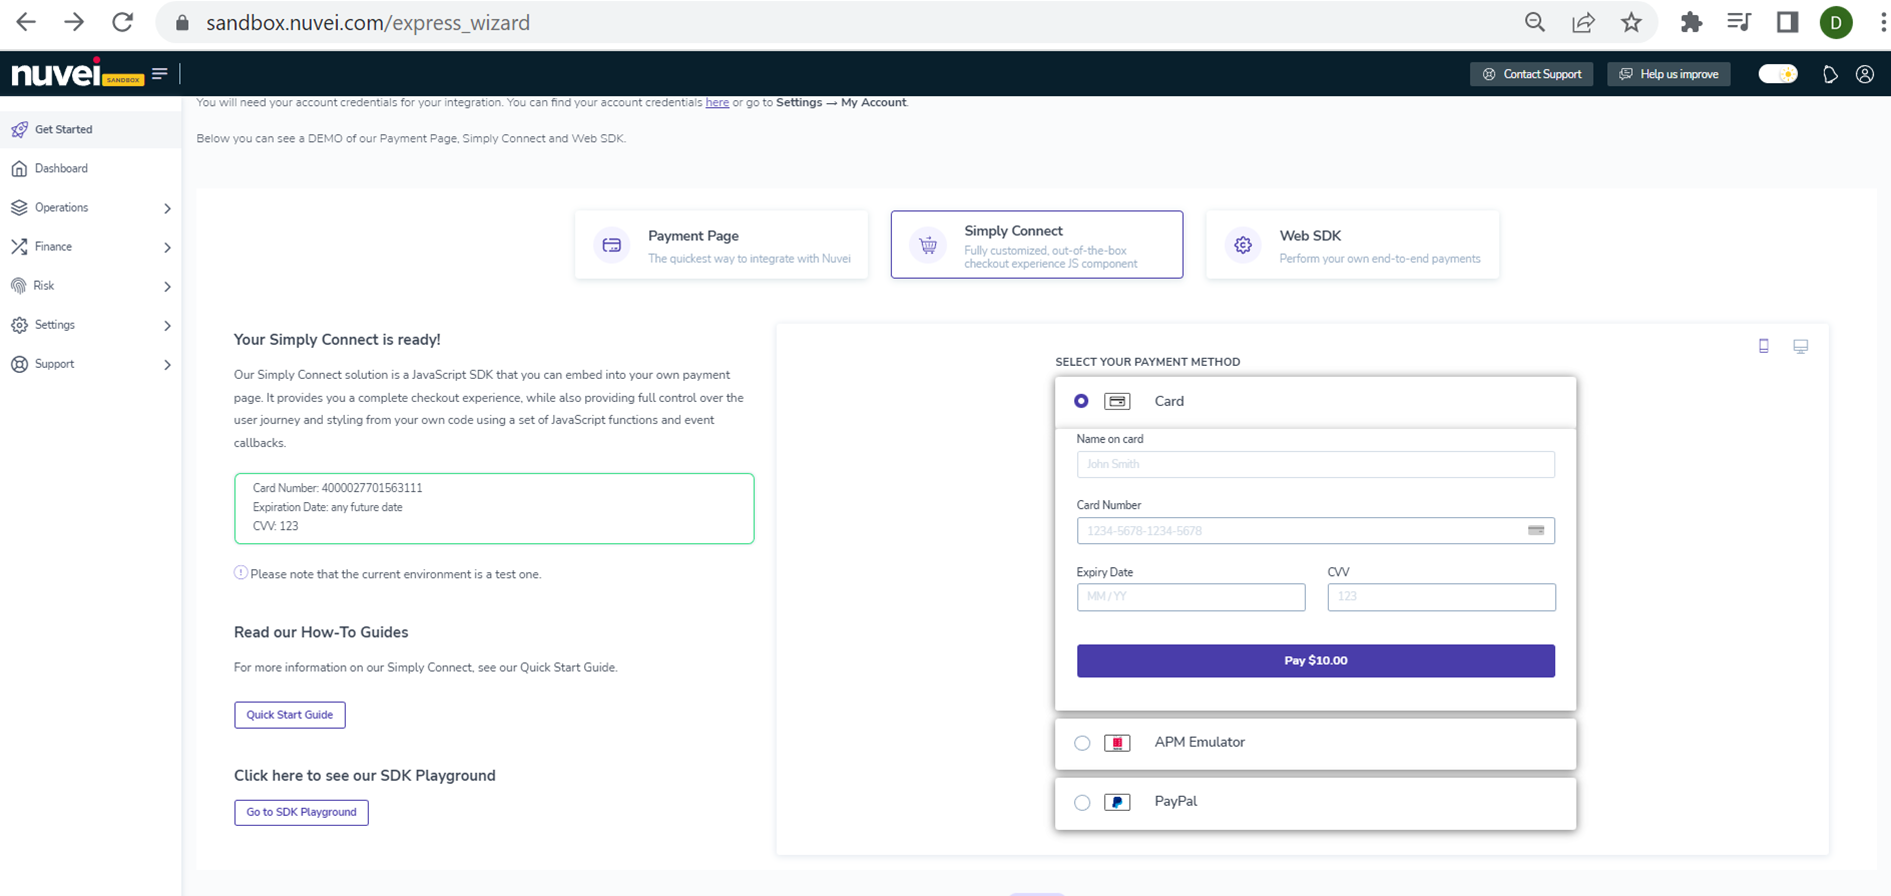
Simply Connect
Simply Connect is a powerful feature-rich and flexible end-to-end payment solution. Simply Connect is hosted directly on your web page, so there is no need to redirect your customer to a different page or IFrame.
Web SDK
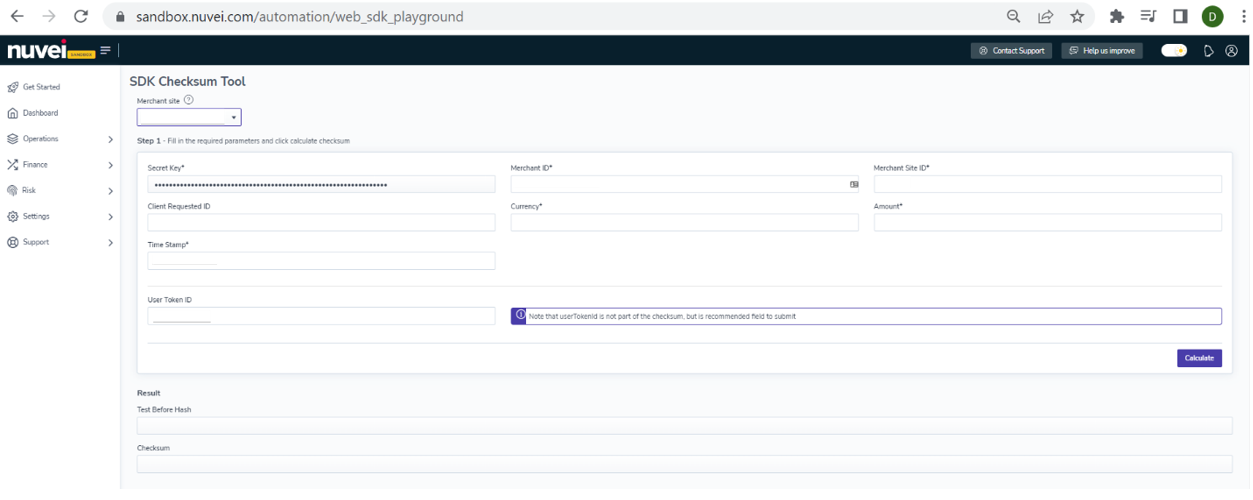
Web SDK Playground
To experience different SDK solutions, use the Web SDK Playground.
To open the Web SDK Playground, in the sandbox press the ‘Go to SDK Playground’.
2. Customizing DMNs and Redirect URLs
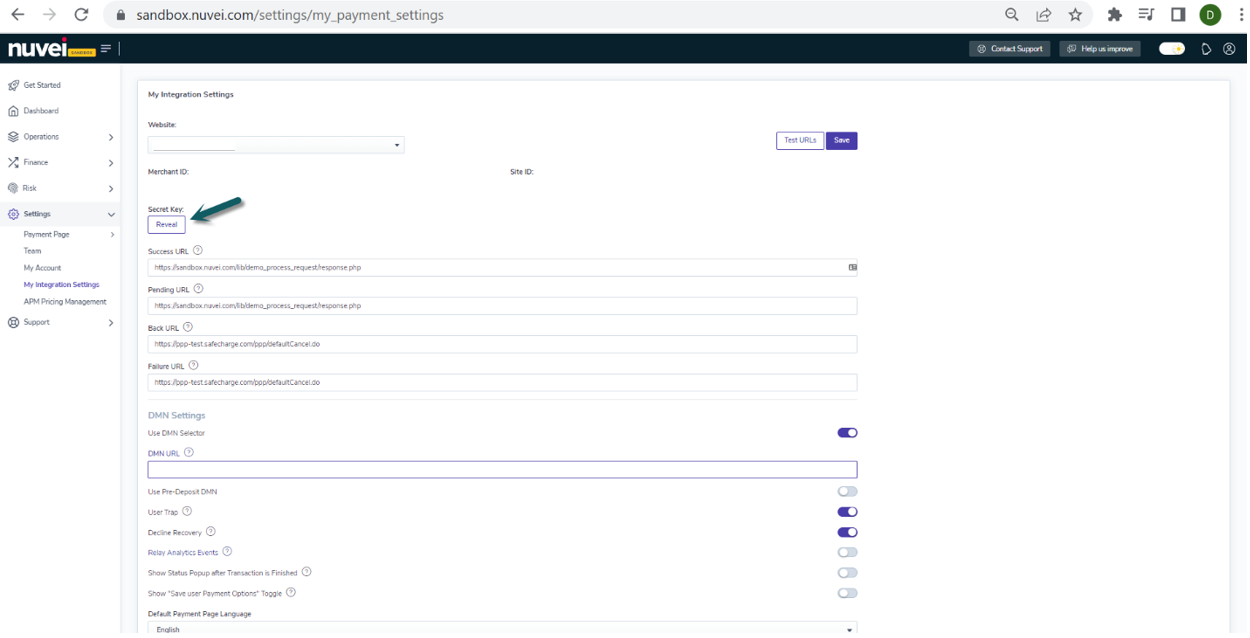
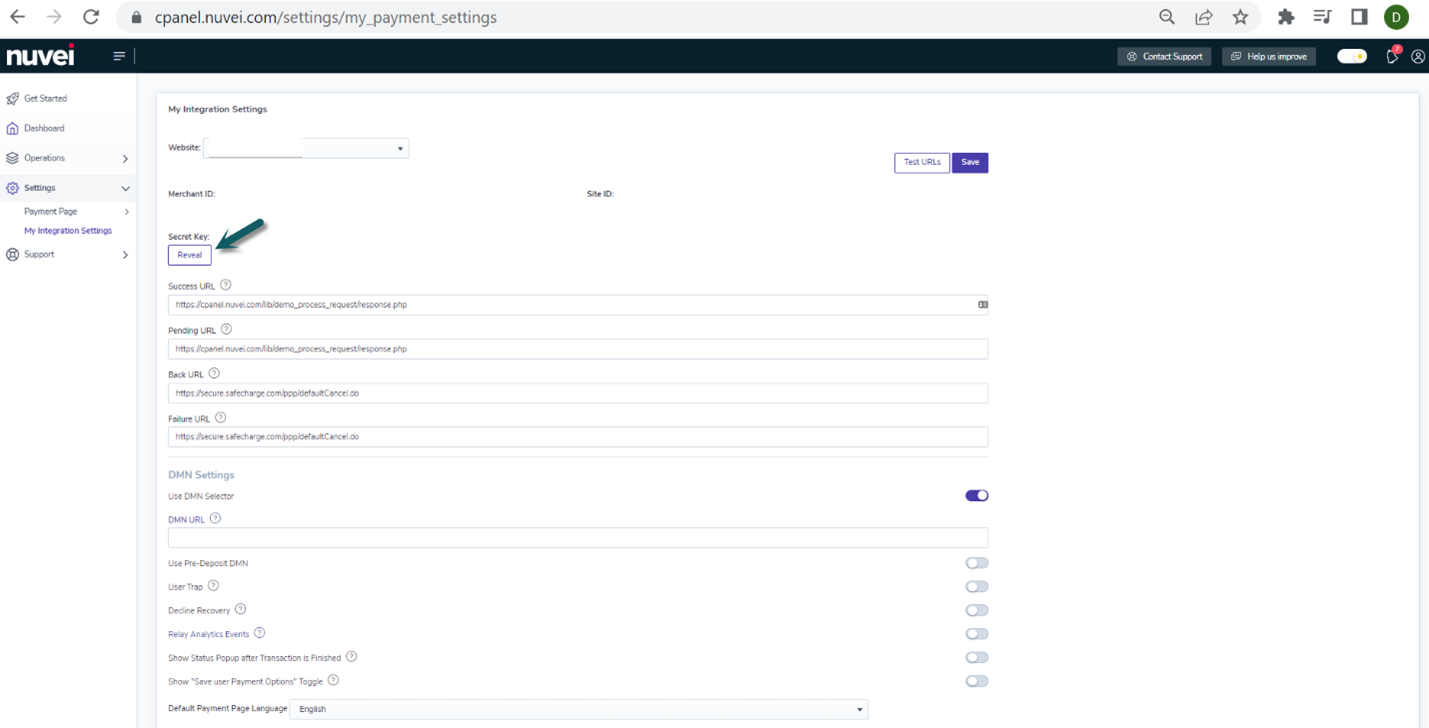
In the sandbox, in ‘My Integration Settings’, information and configurable settings are provided, including:
- Settings for the payment page.
- Processing credentials (
siteId,MerchantId,secretKey). - Settings for redirect URLs, which are the landing pages for a successful transaction, a failed transaction, or an error.
- Mandatory setting for the URL for receiving Direct Merchant Notifications (DMNs).
3. Certifying an Integration
After you have performed an integration and configured settings, you can certify the integration.
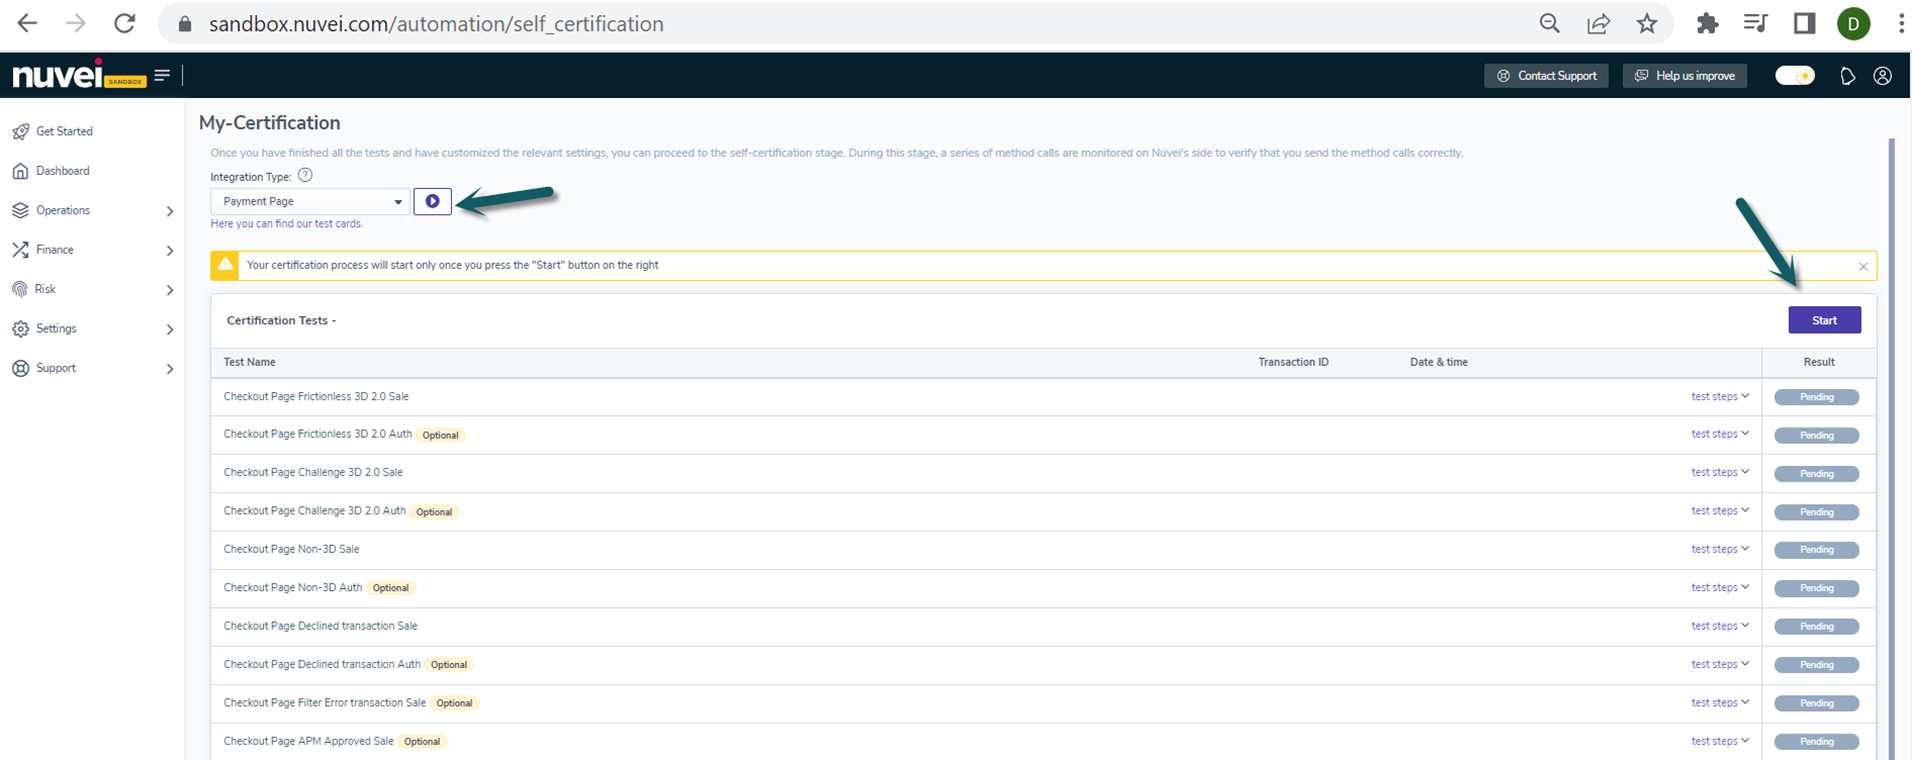
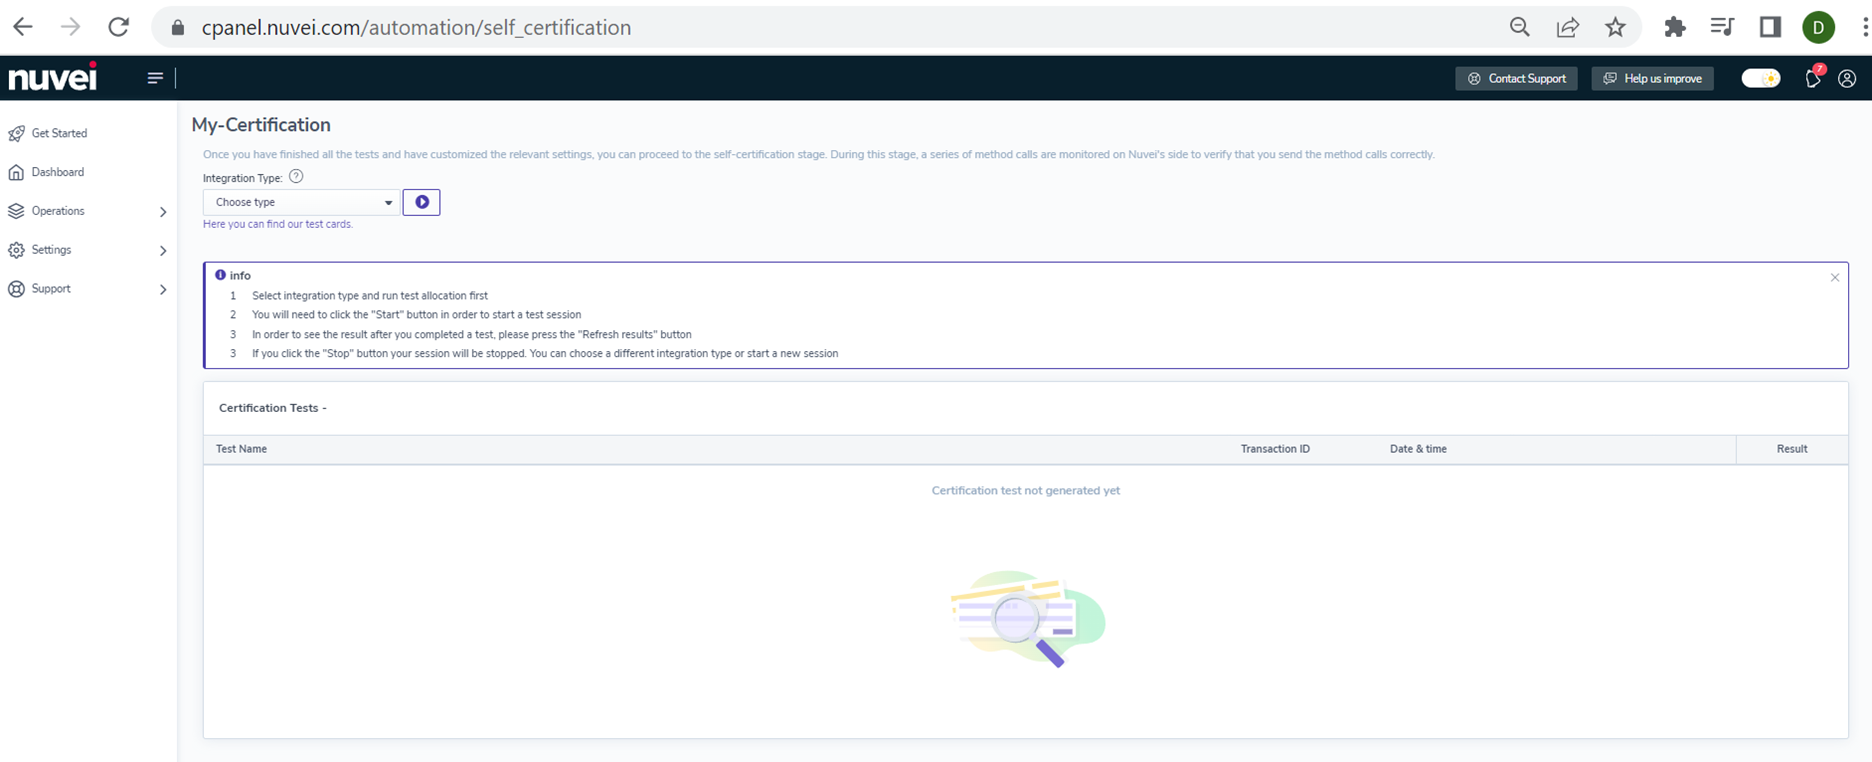
- In ‘My Certification’, select the integration type that you implemented (Payment Page, Simply Connect, or Web SDK).
- Click ‘Start’ to start the certification process.
 After performing at all mandatory tests successfully, a congratulations message is displayed.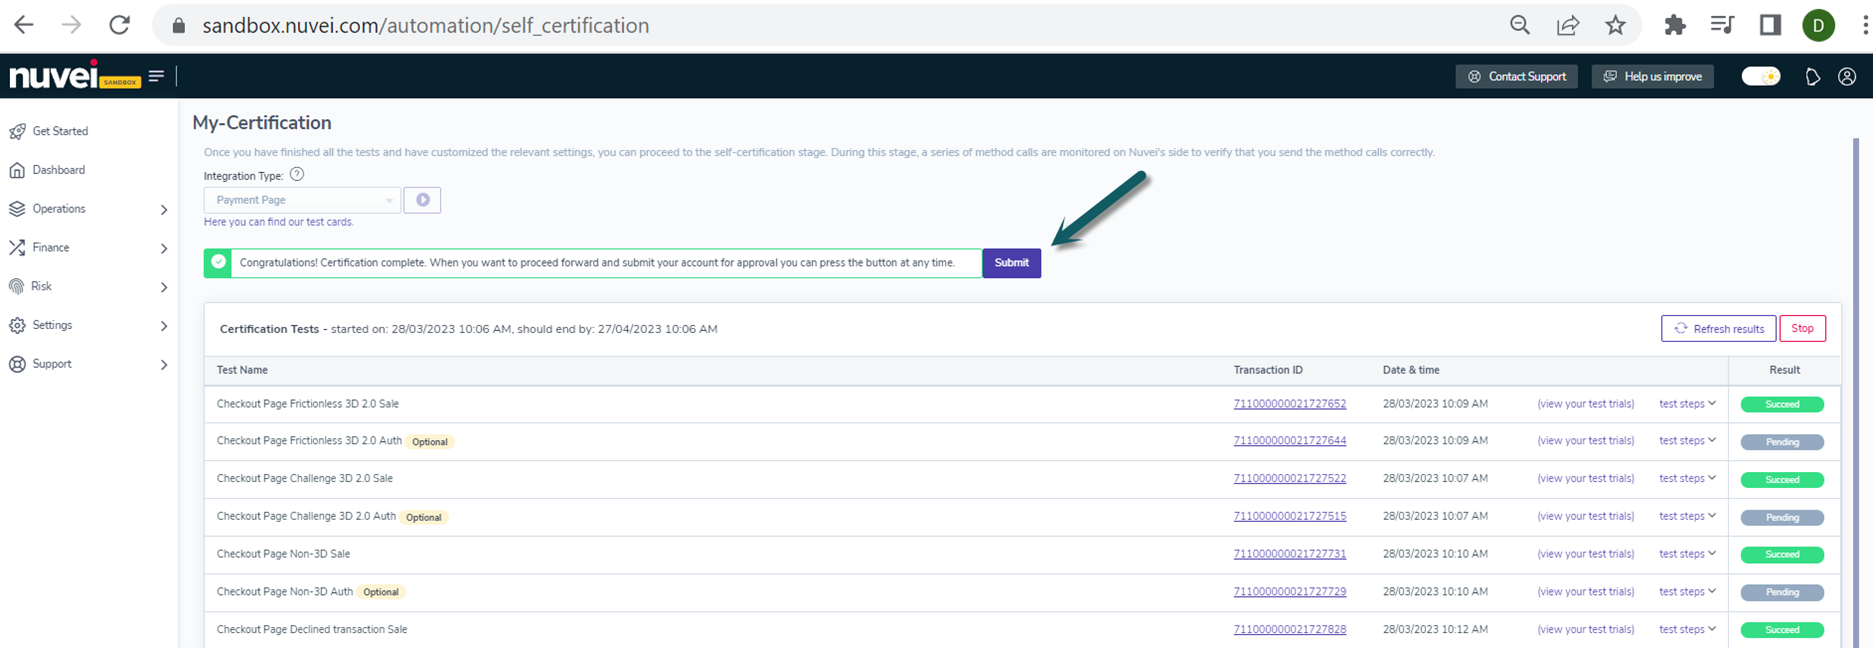
- Click ‘Submit’.
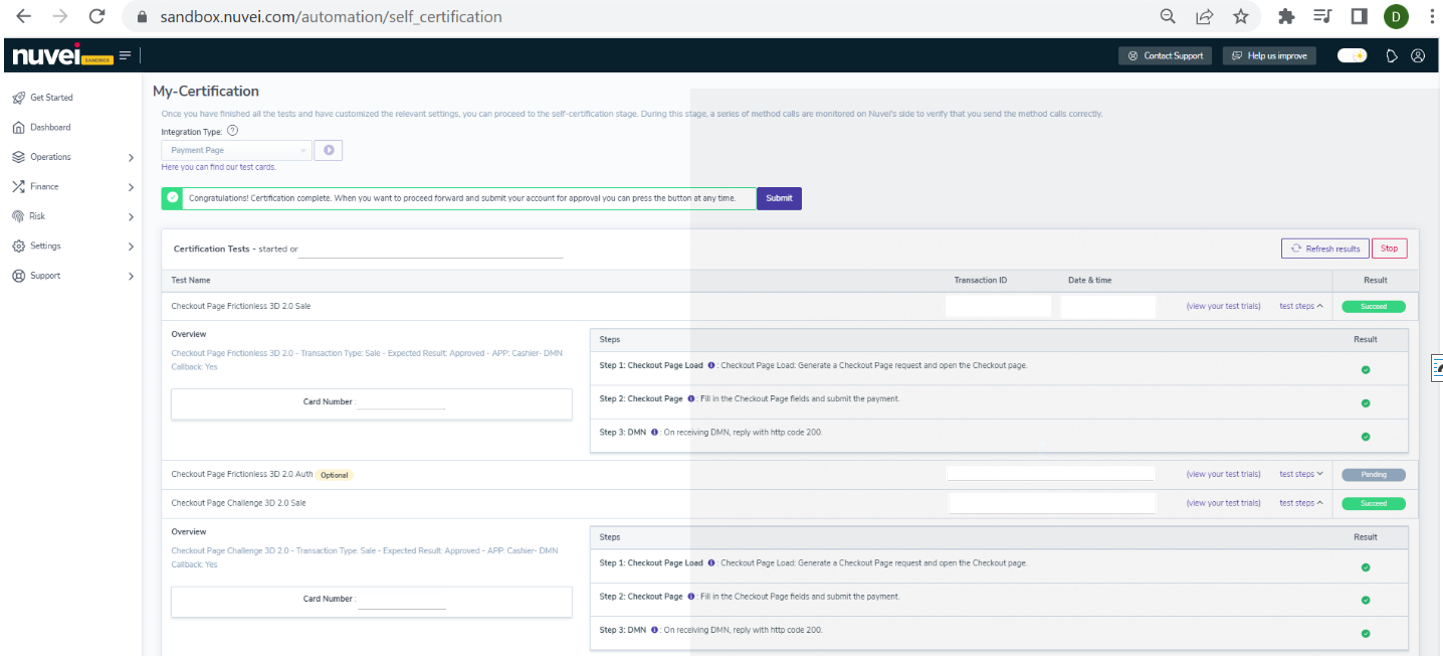
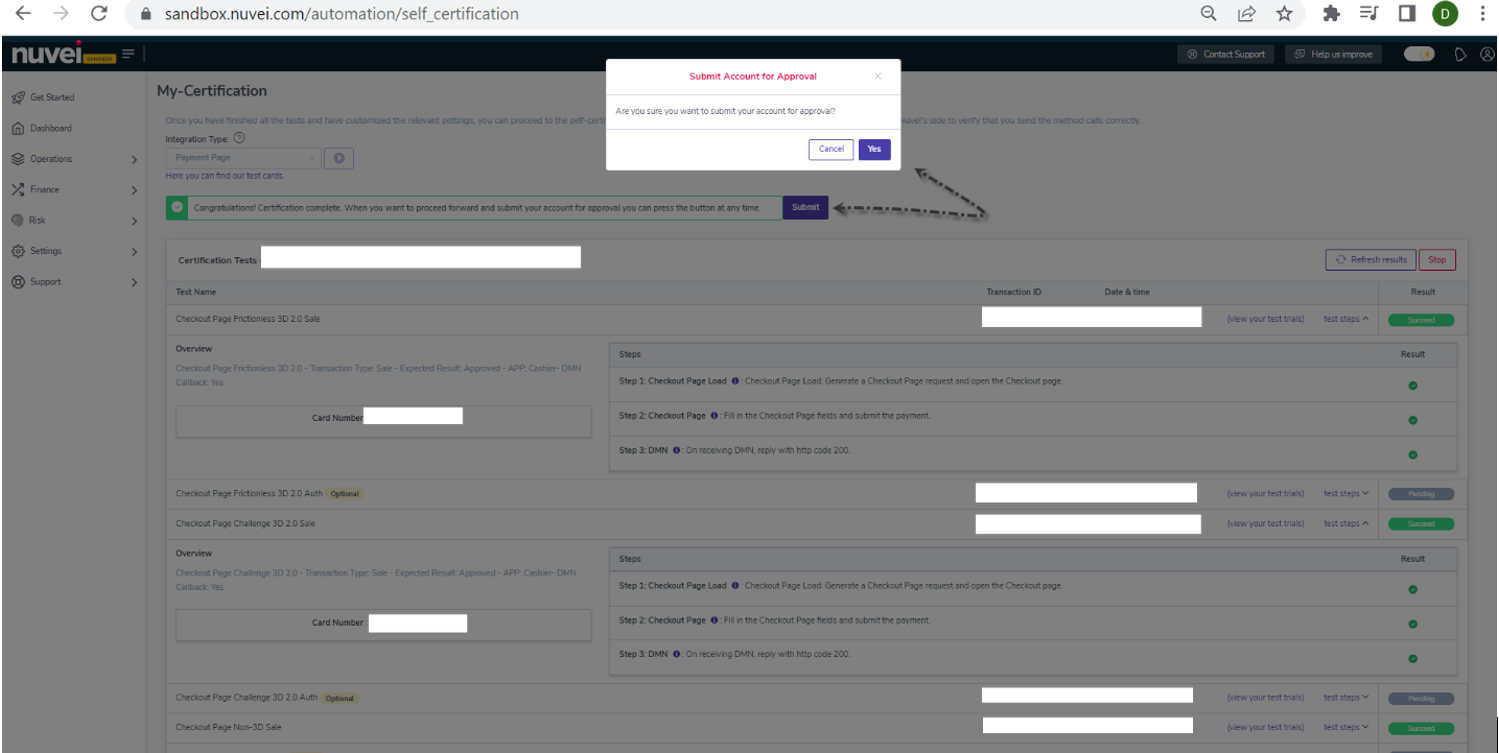
If all mandatory test scenarios are performed, sandbox self-certification is considered successful and Nuvei prepares your production account. After you click the congratulation message ‘Submit’ button and if all commercial aspects are aligned regarding the production account, you receive an activation email with a username for your production account.
4. Your Production Account is Created
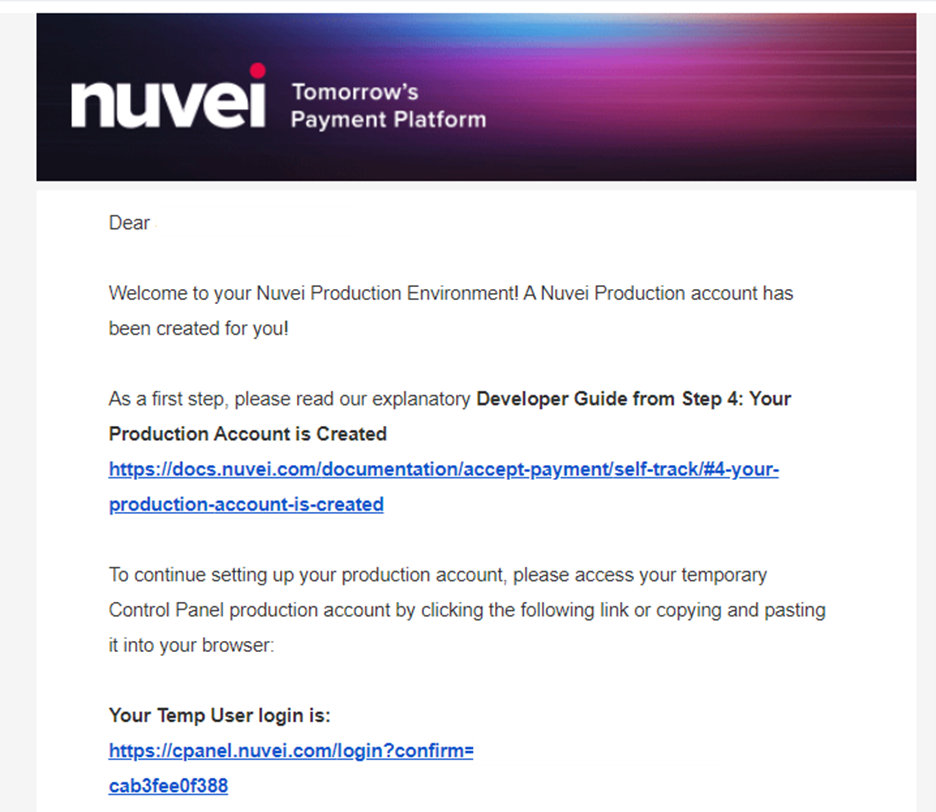
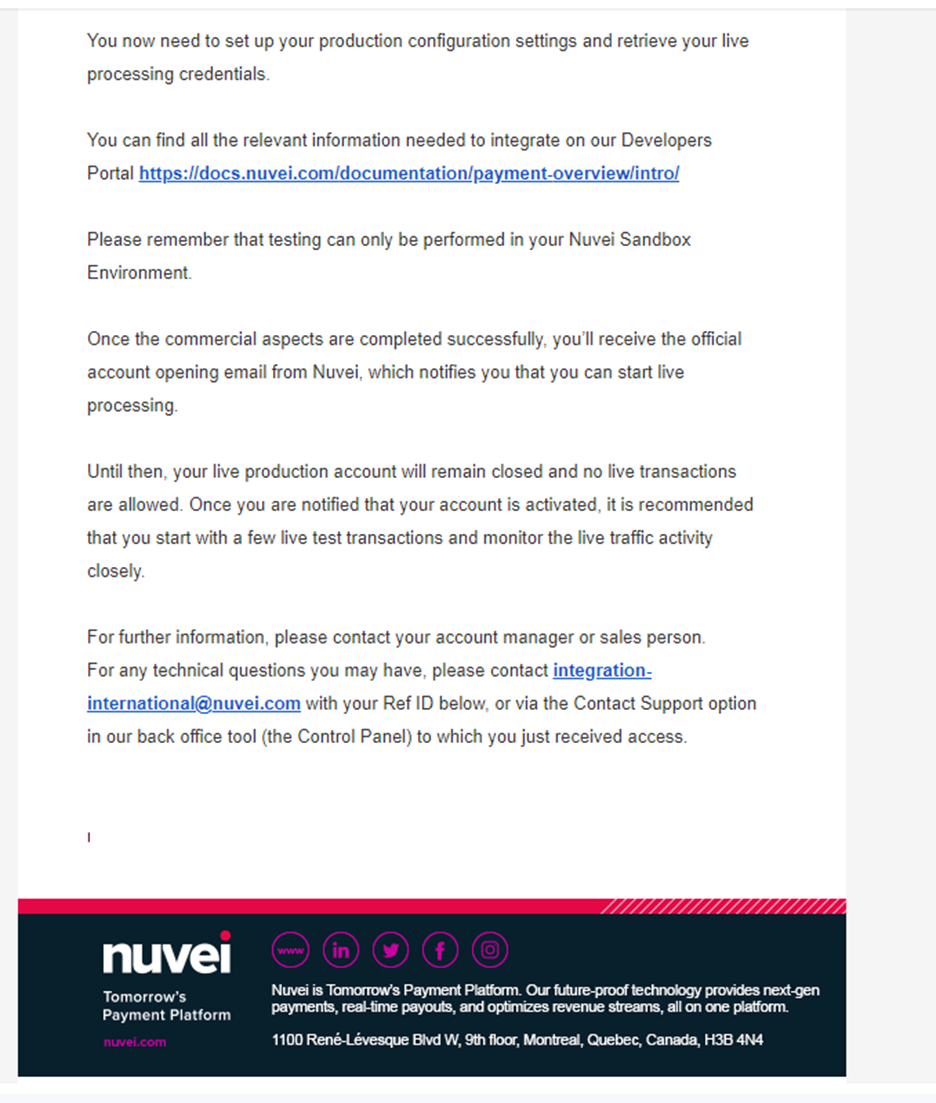
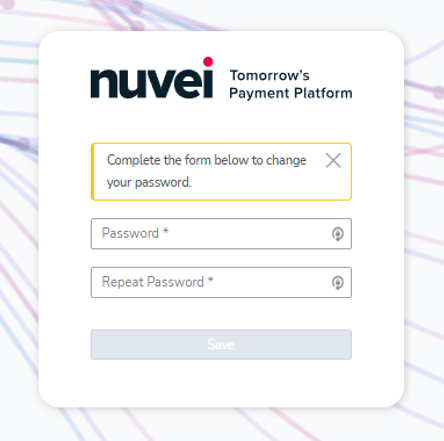
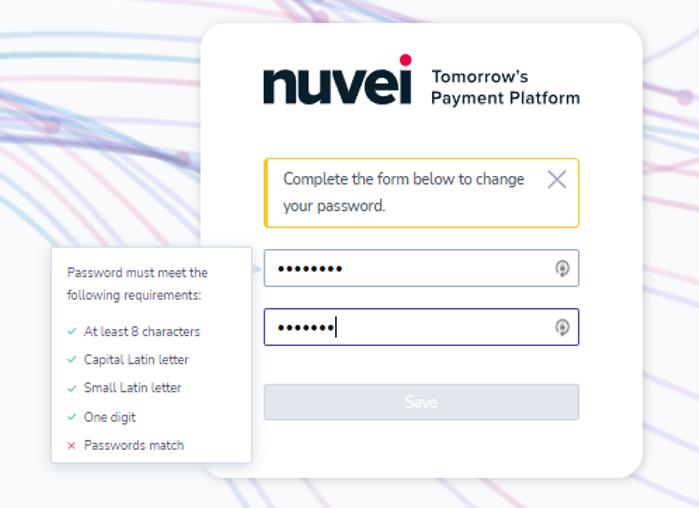
After you successfully complete the sandbox self-certification of your integration, Nuvei opens a production account for you and sends you an email containing an activation link and password for you to continue setting up your production account.
To access your temporary Control Panel production account, click the link that is provided or copy/paste the link into your browser.
Getting Started on Production
After you receive the activation email and set your password, you can log in to the production Control Panel.
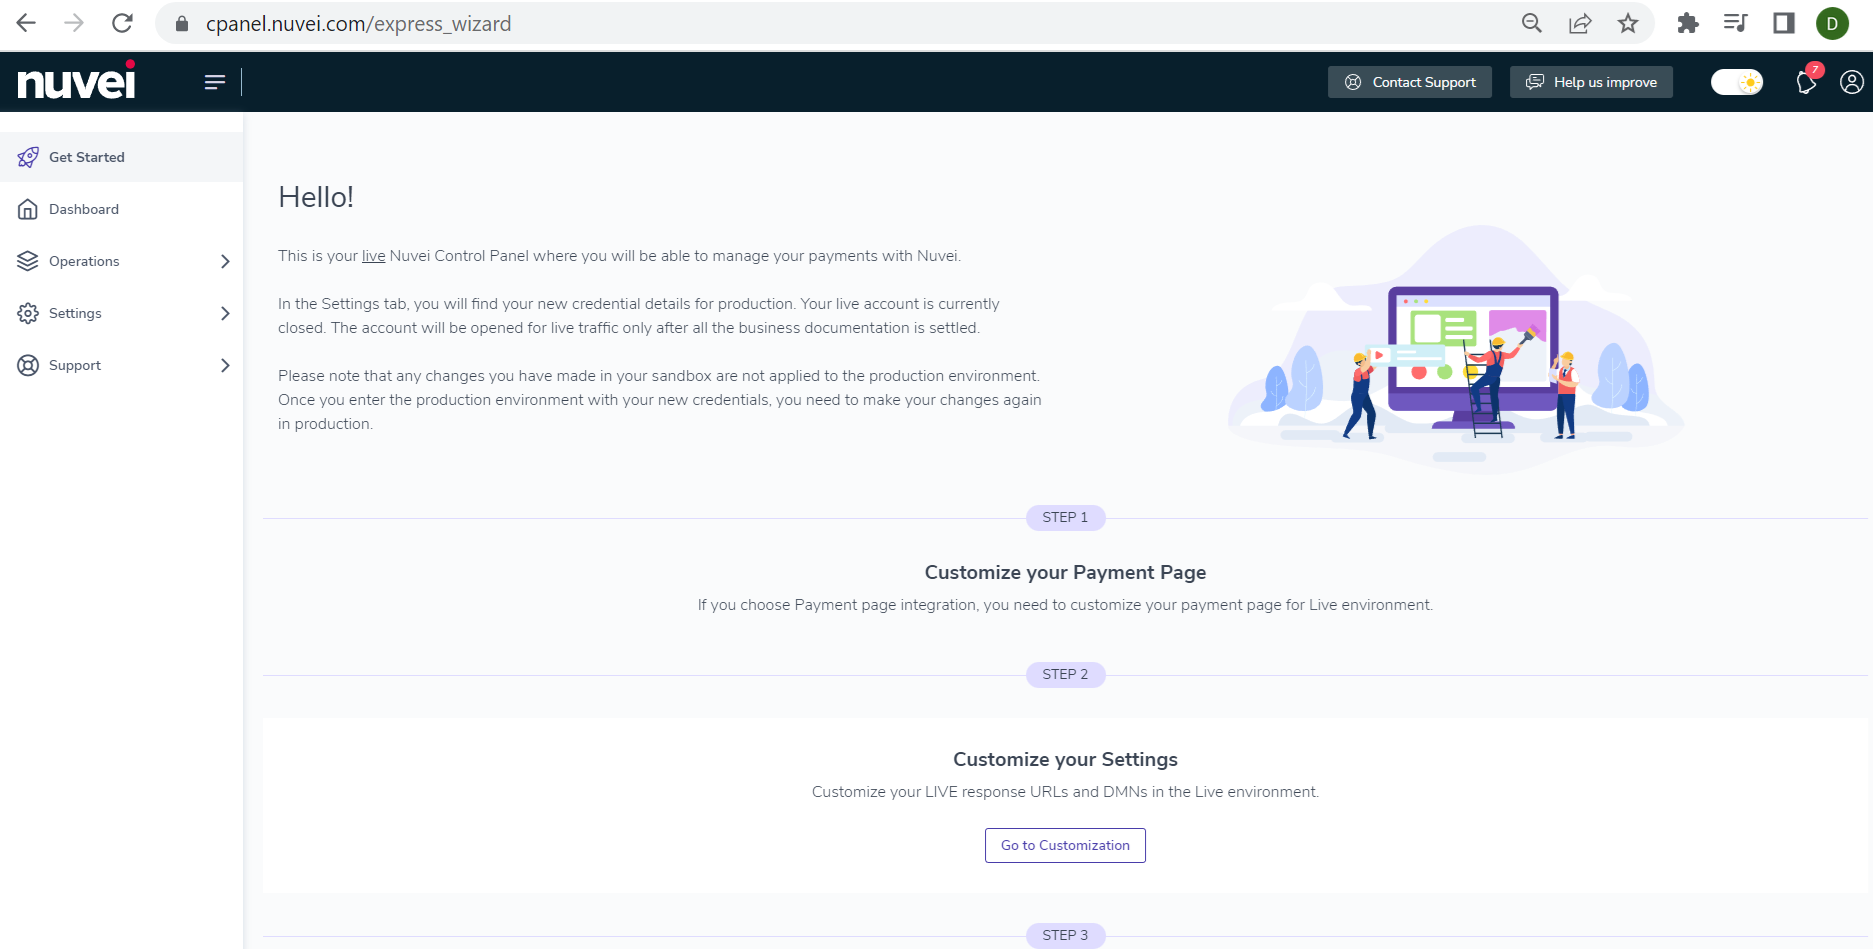
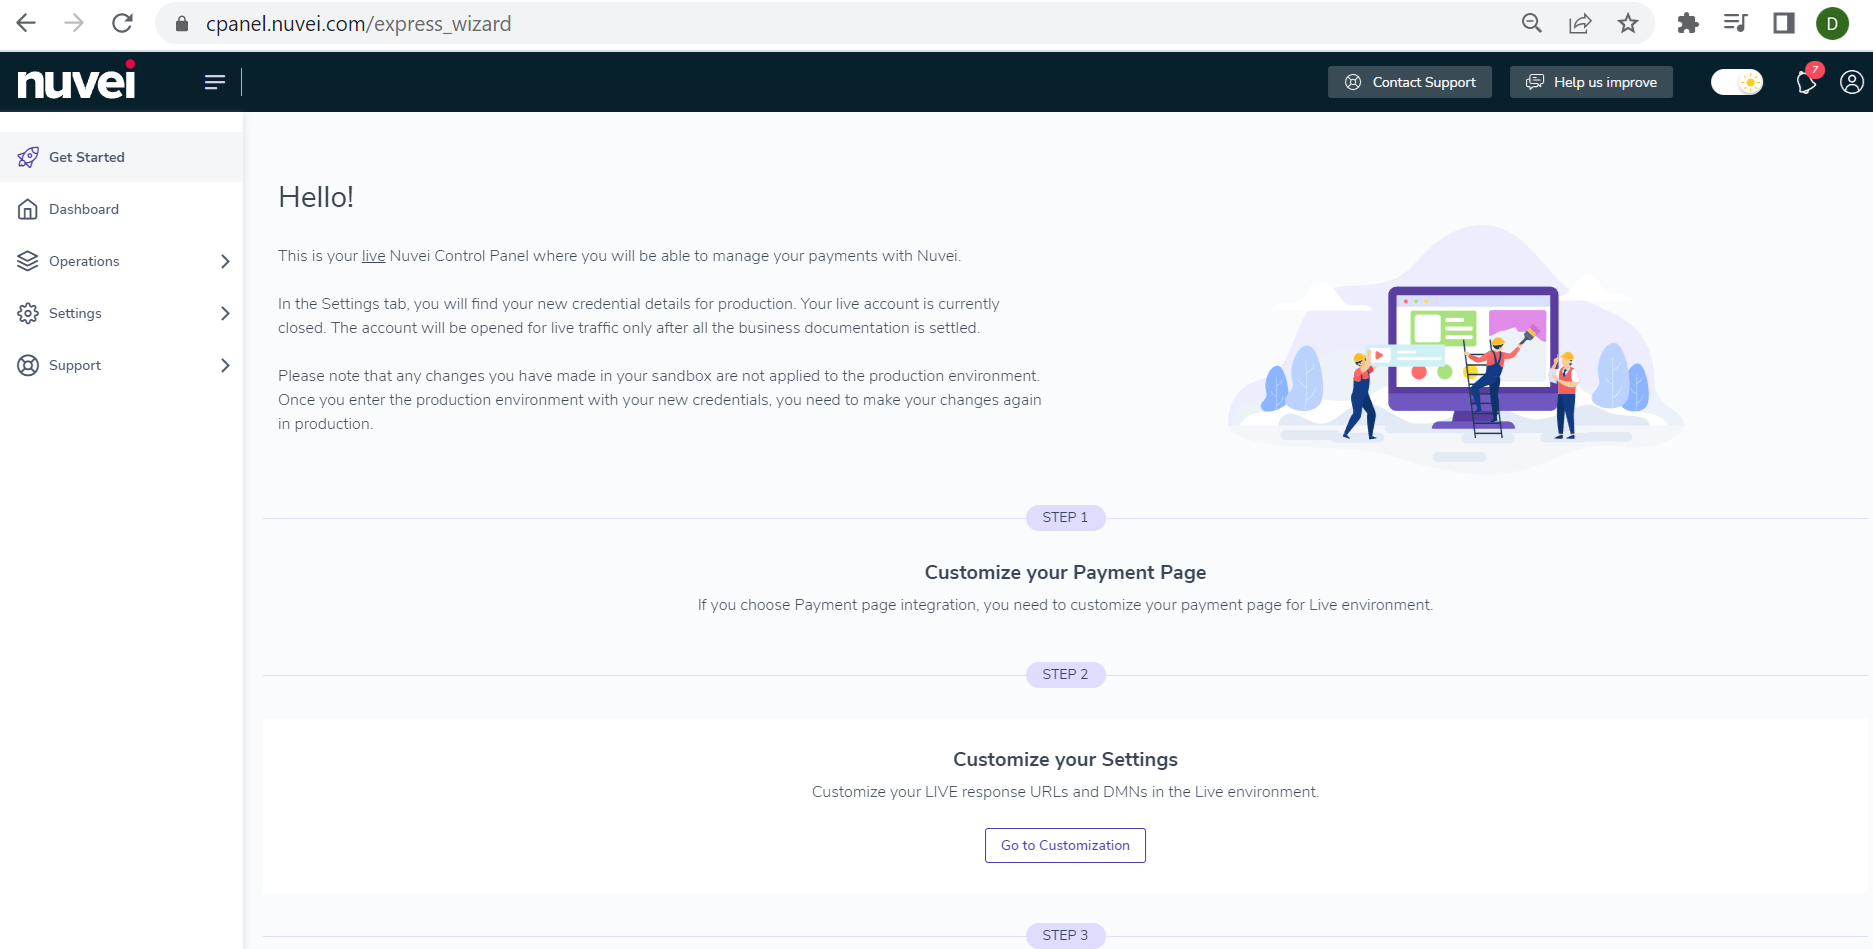
Customizing DMNs and Redirect URLs
You must perform the following actions:
- Retrieve your live processing credentials (
siteId,MerchantId,secretKey) so that you can configure them within your integration. - Configure different URLs (live) for the DMN, which are different than the URL you used in your sandbox environment.
Short Self-Certification of Production Integration
After you have performed production integration and configured the live settings, you can continue to a short self-certification of the production integration.
To continue to short self-certification:
- Select the integration type you used (Payment Page, Simply Connect, or Web SDK).
- Click ‘Start’ to start the certification session.
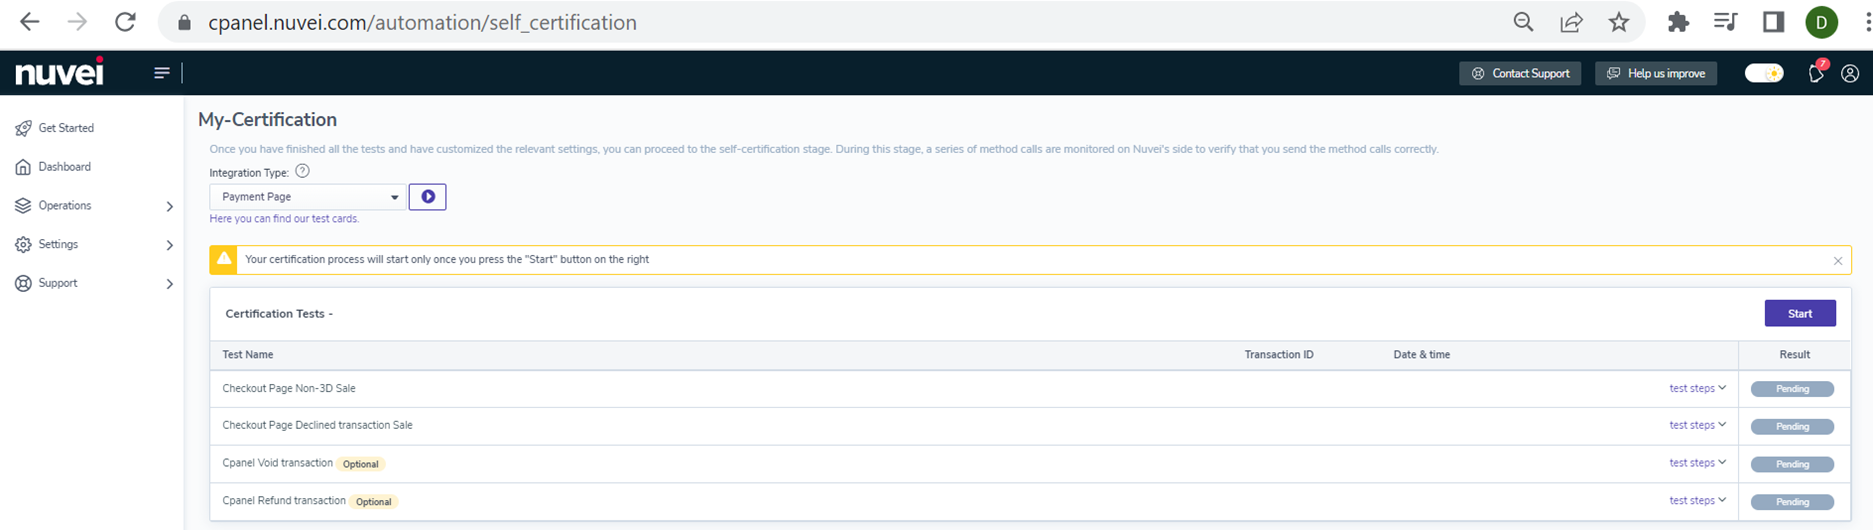
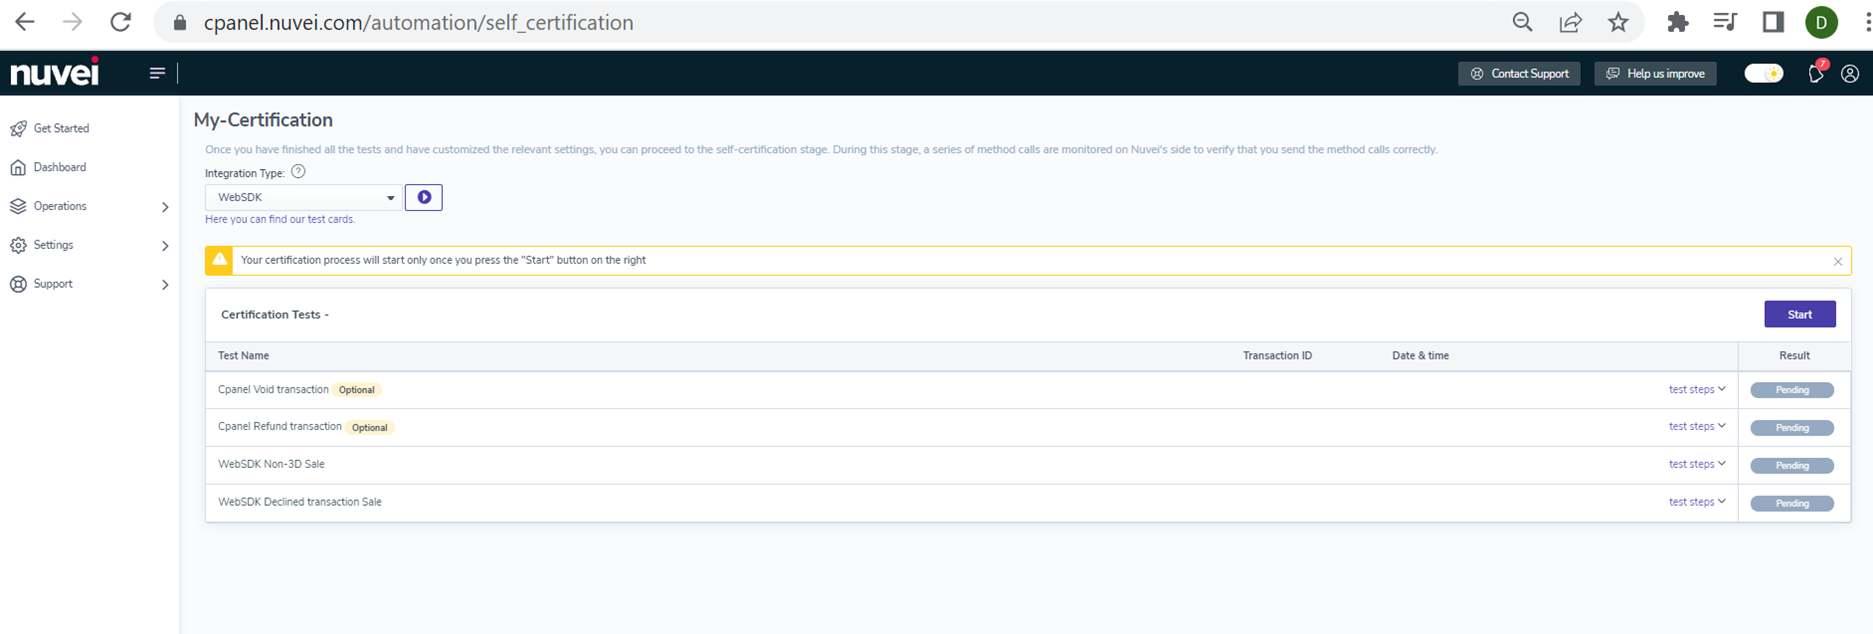
The self-certification is considered successful if all the mandatory tests are successfully performed.
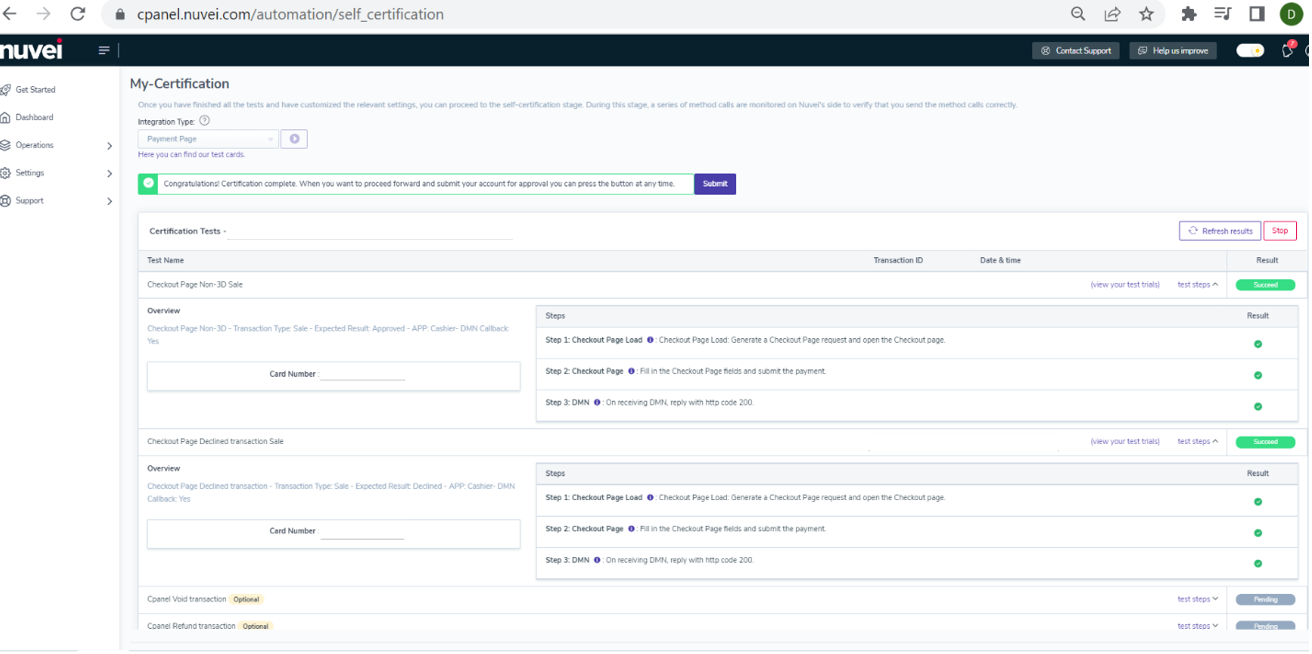
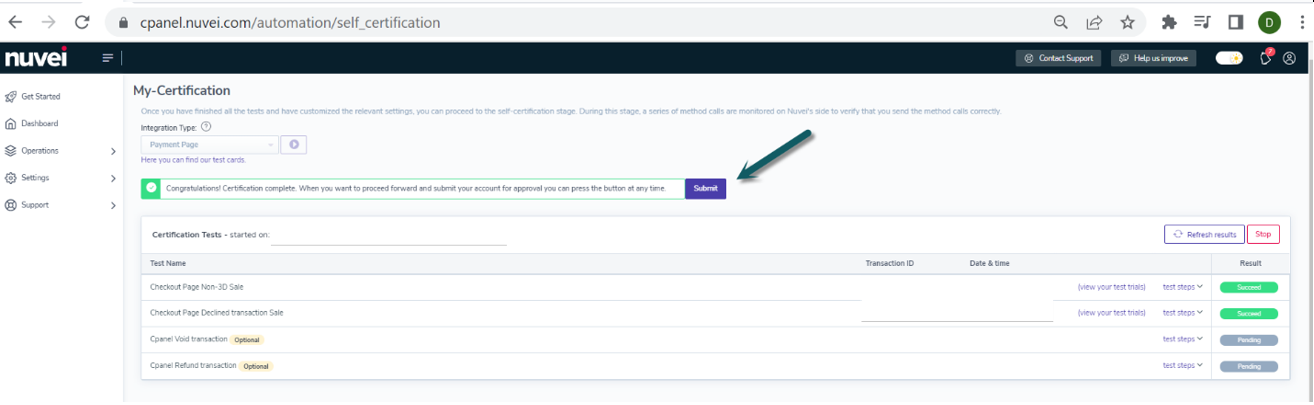
To continue submitting your account for approval:
- Click ‘Yes’ and then ‘Submit’.
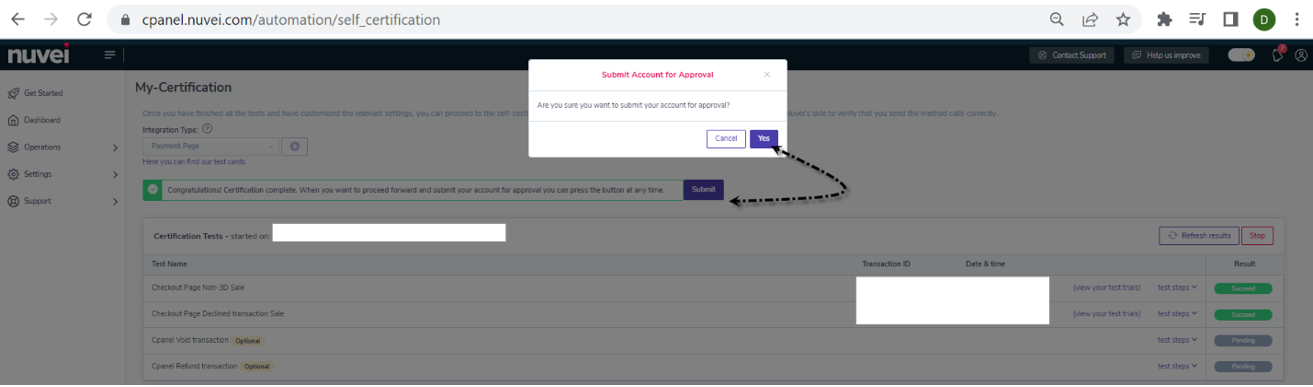
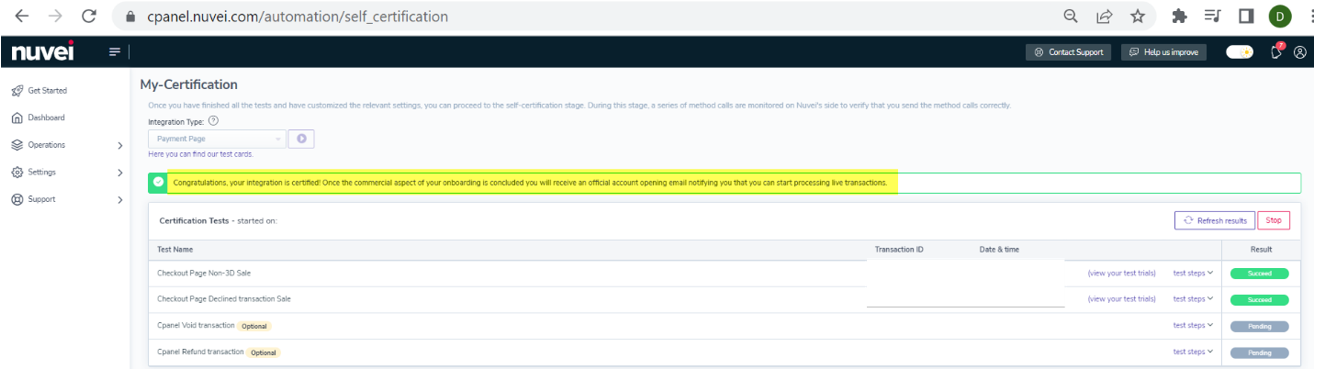
Account Opening and Live Processing
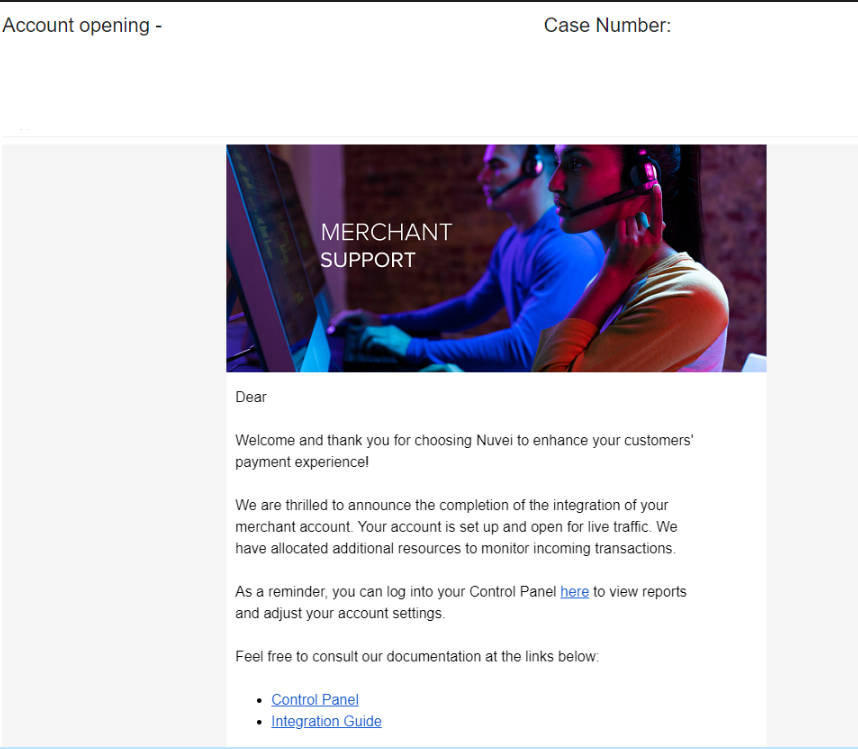
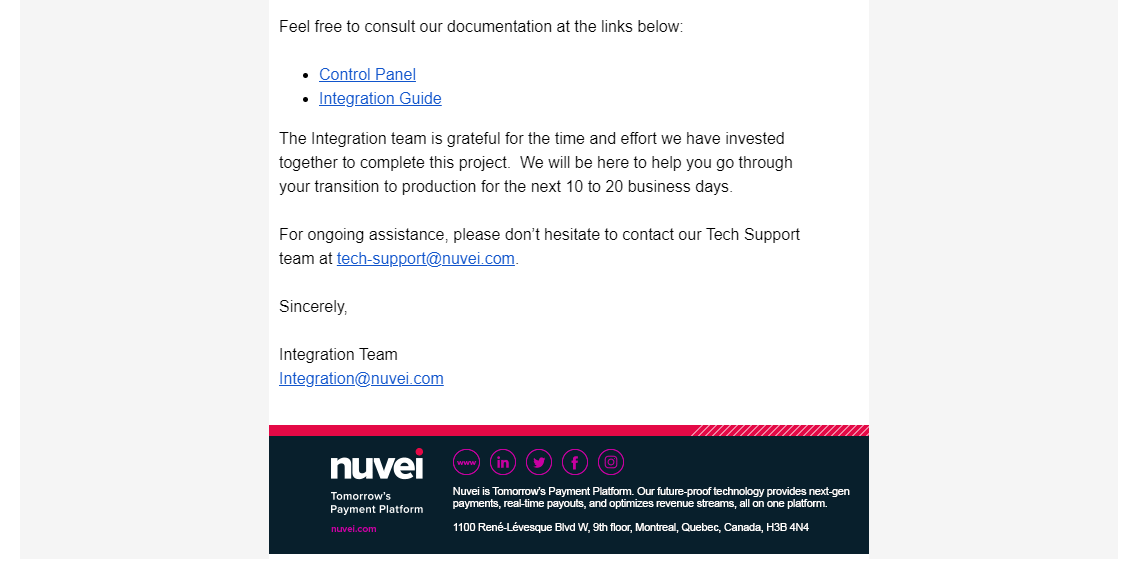
After all commercial aspects are fully completed, Nuvei sends you an official account opening email to notify you can start the live processing. Until you start the live processing, your live production account is inactive and no live transactions are allowed. If you are notified that your account is activated, it is recommended that you begin with live test-transactions and closely monitor the live traffic-activity.[/vc_message]
[/vc_message]
 Last modified September 2026